
Roofing Resources for Homeowners in South Florida
Practical roofing guidance for homeowners dealing with repairs, replacements, and real-world issues in South Florida.
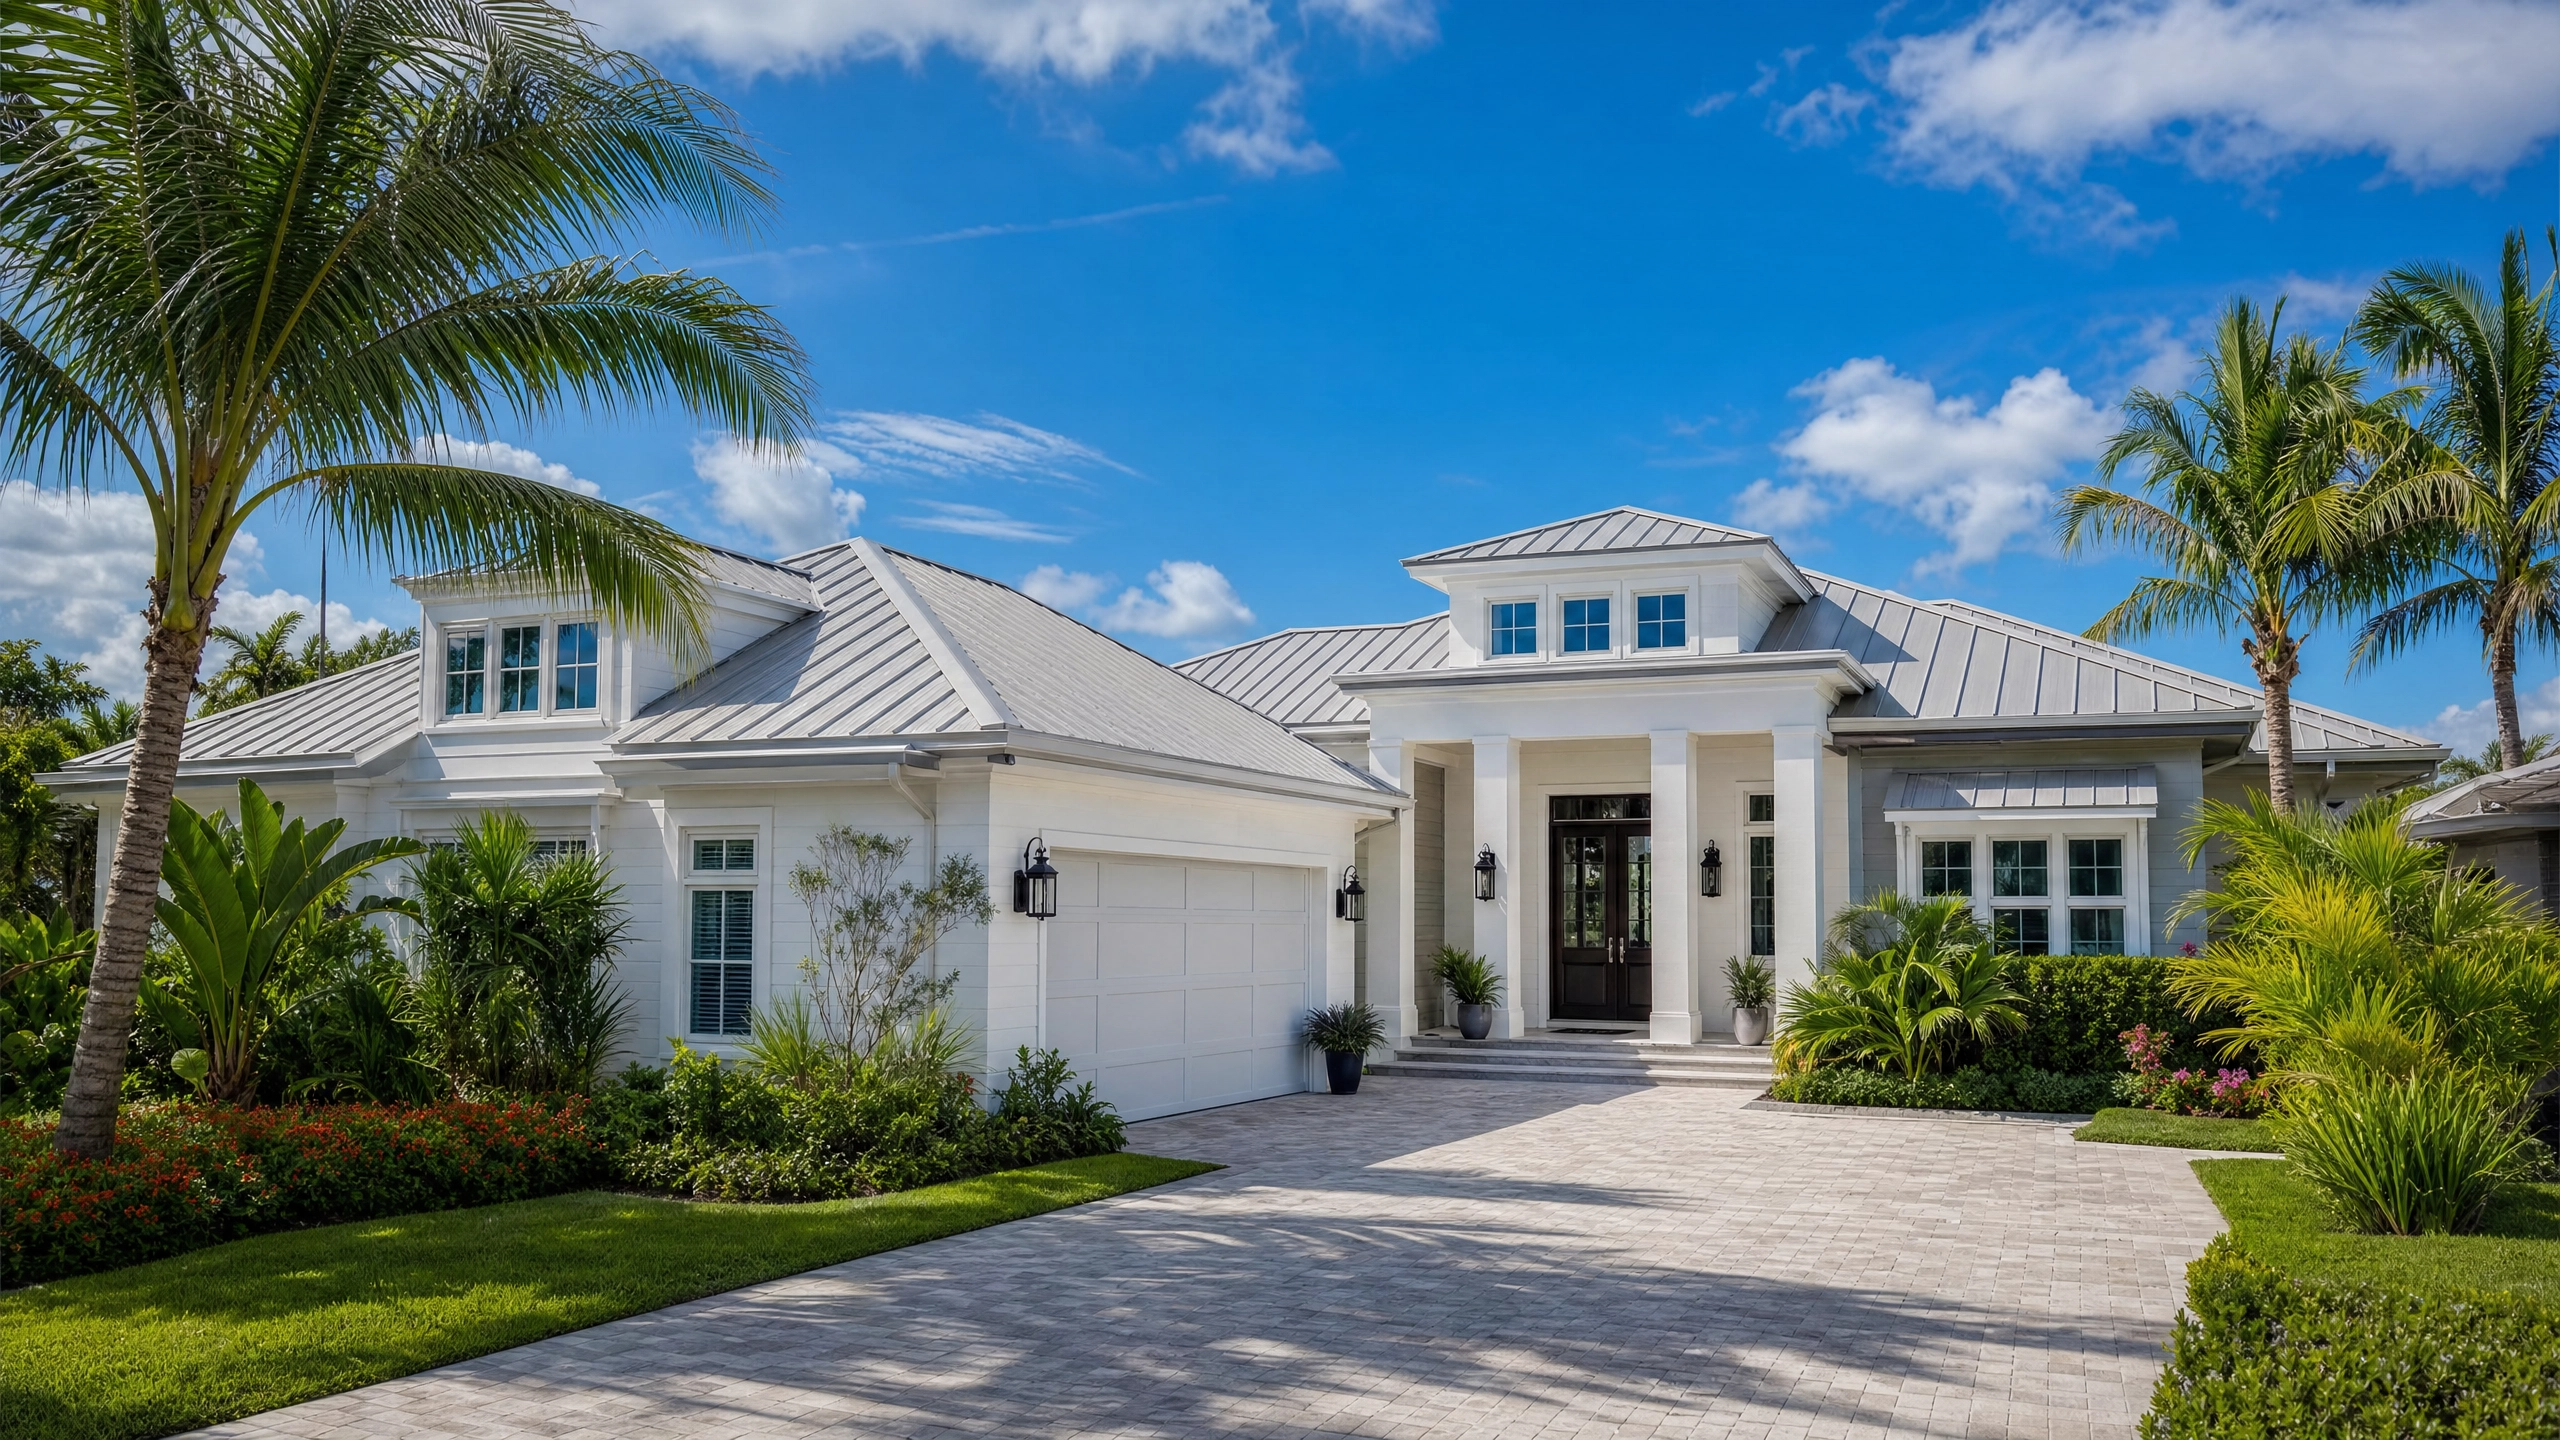

Metal Roofing in Jupiter: Is It Worth the Investment?
Jupiter, Florida, is a community defined by its beautiful homes, coastal charm, and, inevitably, its exposure to harsh weather conditions. For homeowners considering a new
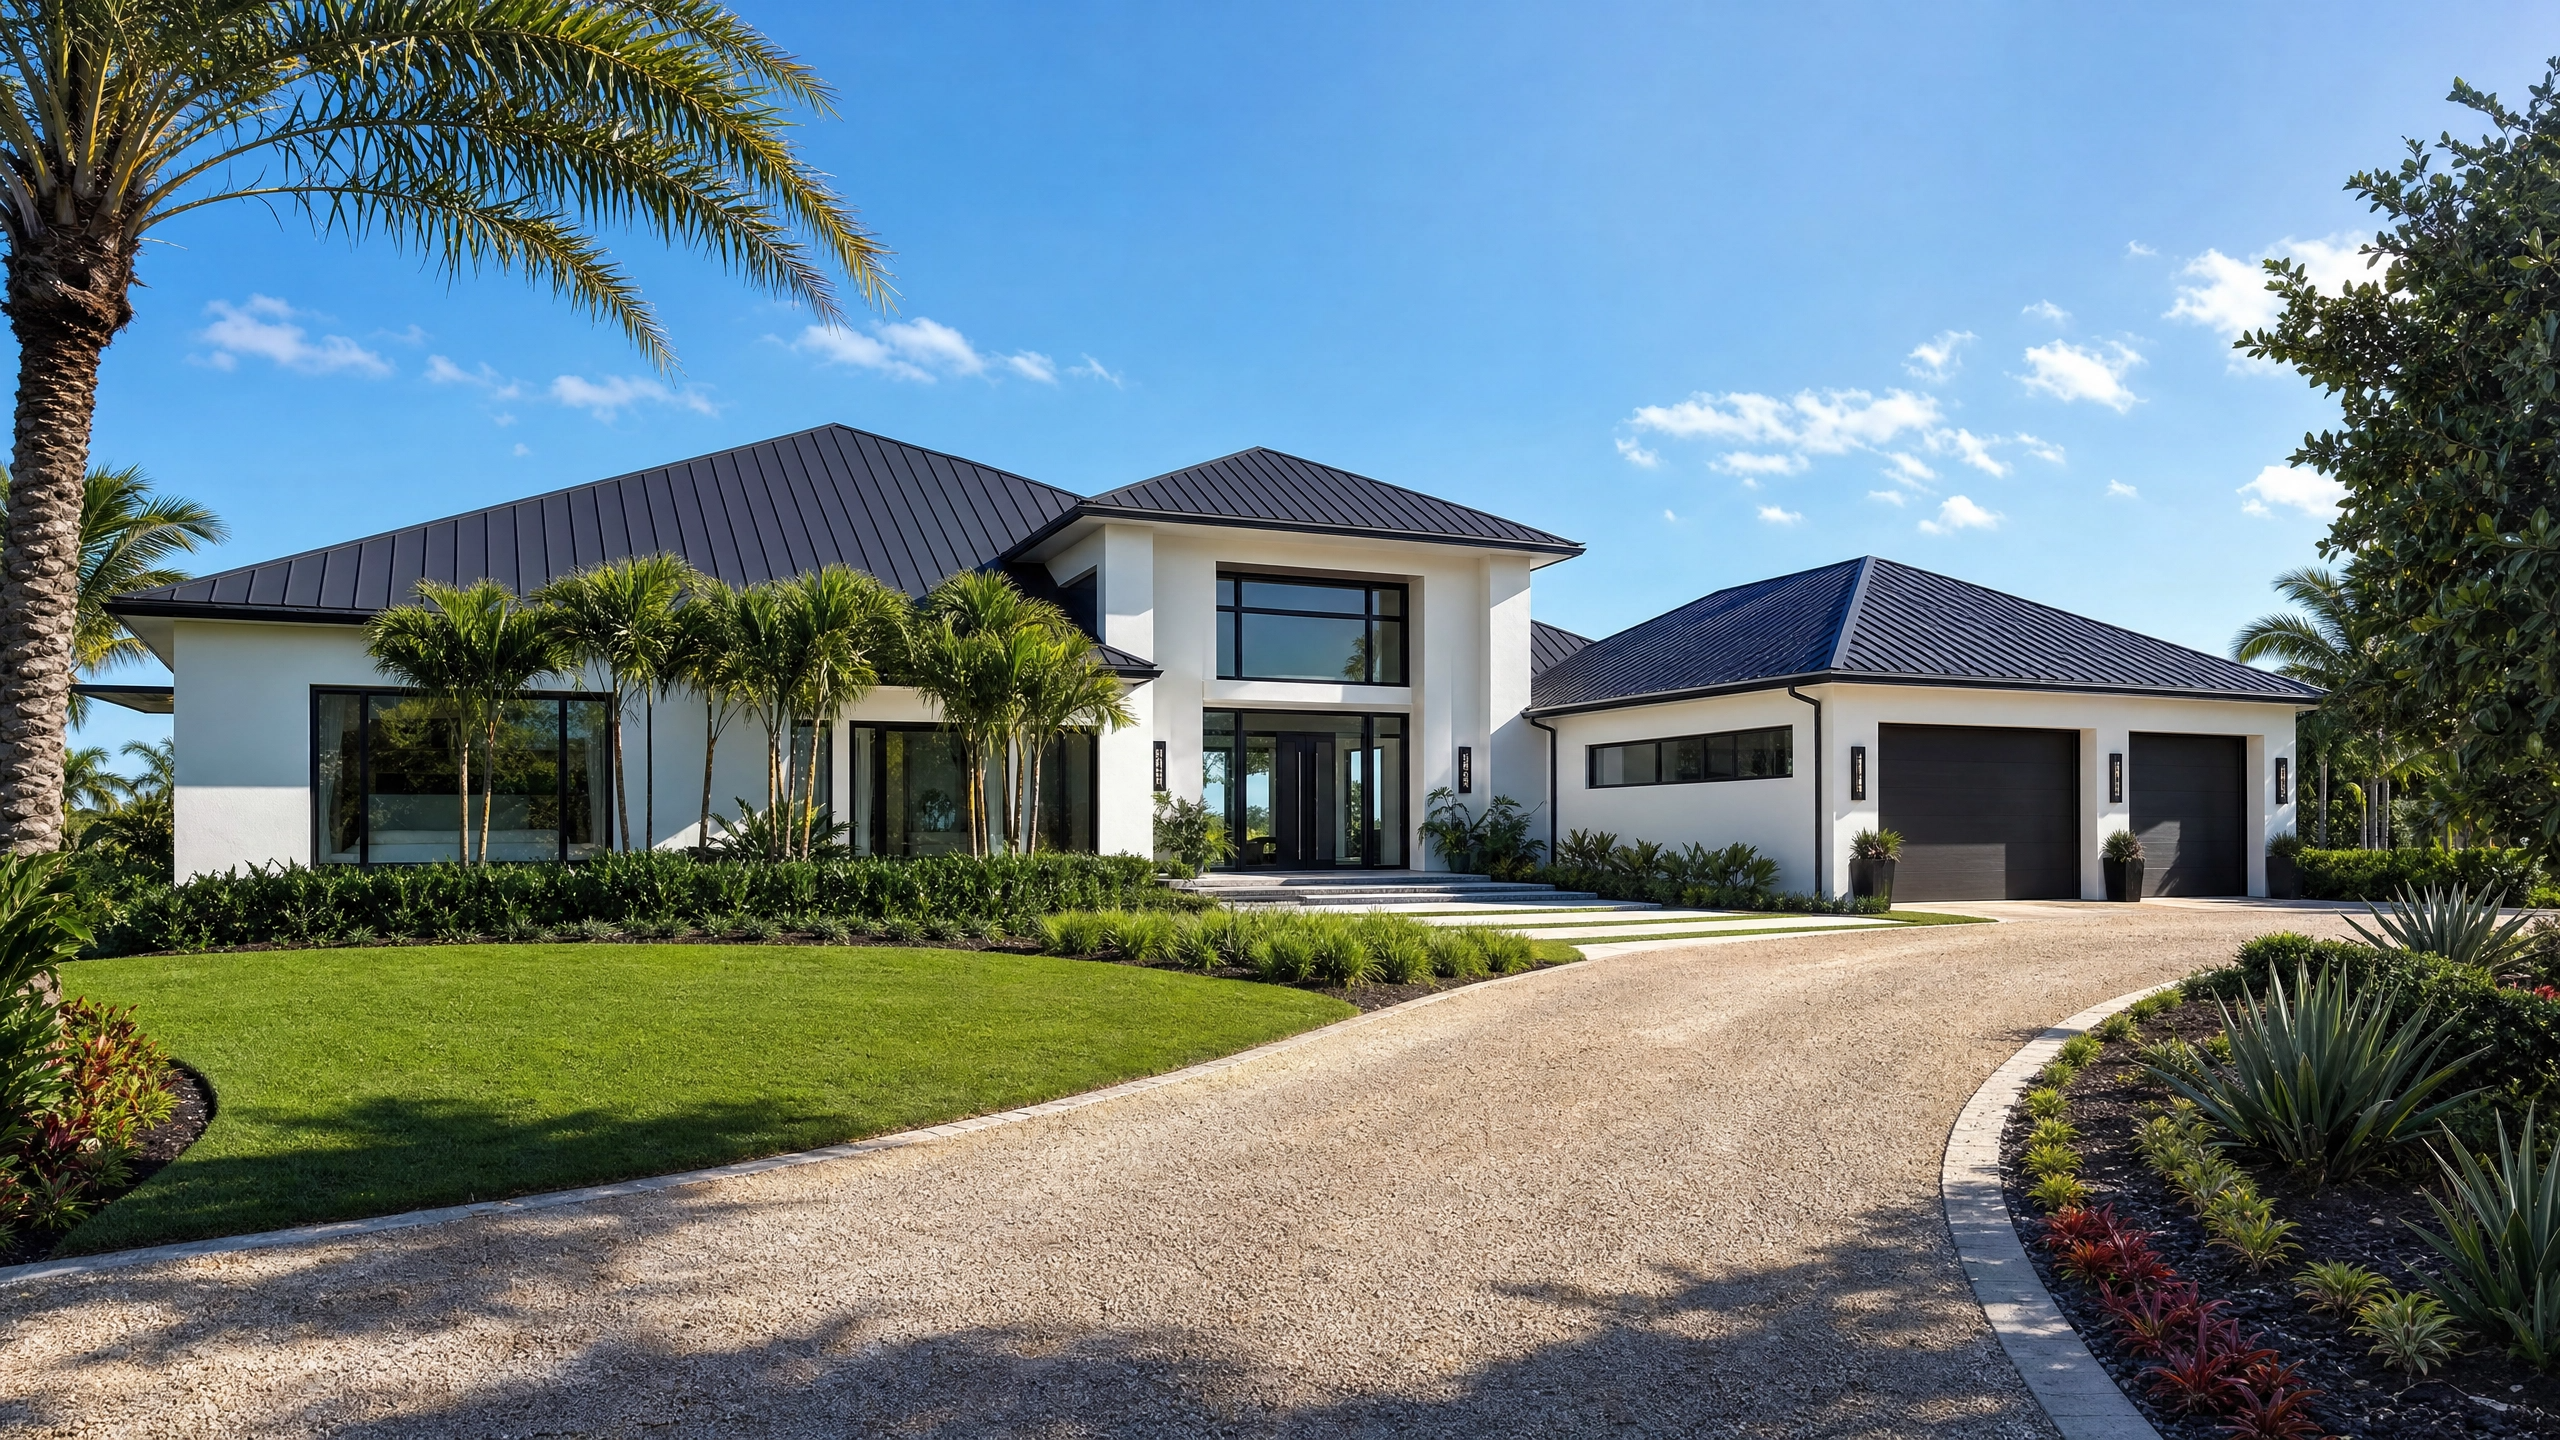
Best Roofing Materials for Jupiter Homes: Salt Air & Sun Protection
Jupiter, Florida, with its stunning coastline, vibrant communities like Abacoa, and lush natural preserves, presents a unique set of environmental challenges for homeowners. The relentless
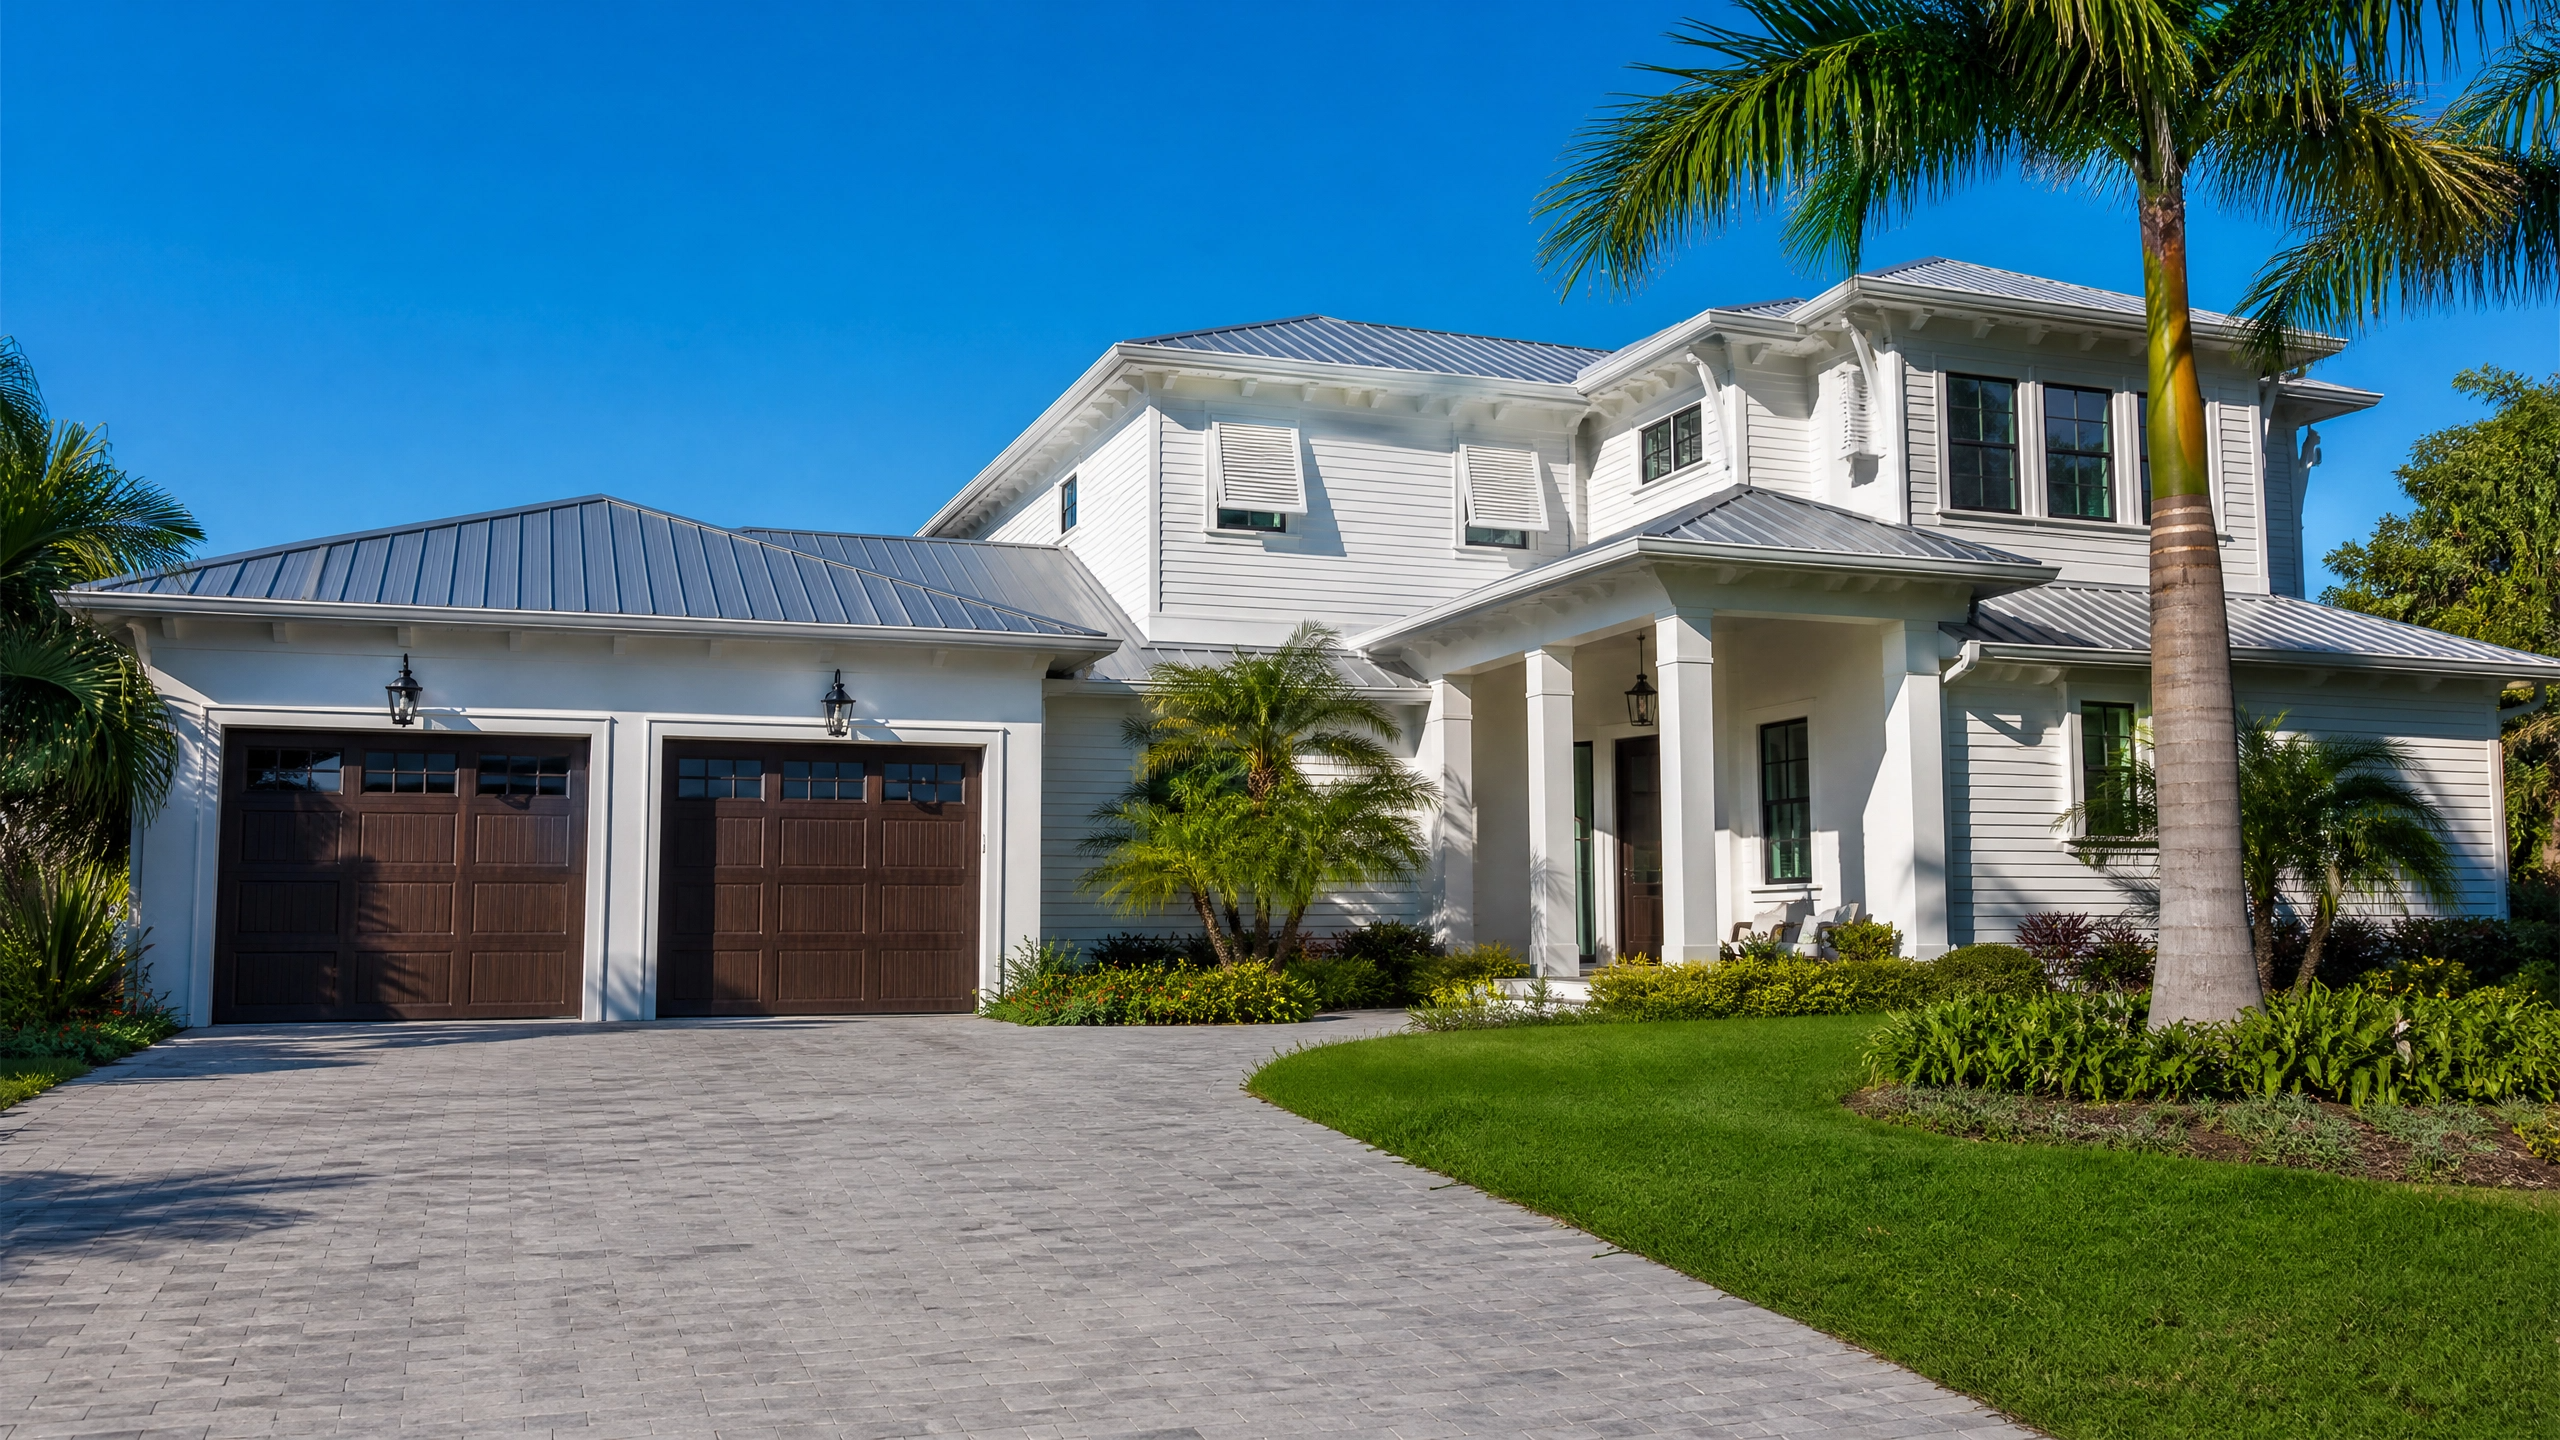
Jupiter Roofing Permits & Building Codes: A 2026 Homeowner’s Guide
For homeowners in Jupiter, Florida, understanding the local roofing permits and building codes is not just a bureaucratic formality; it is a critical step in
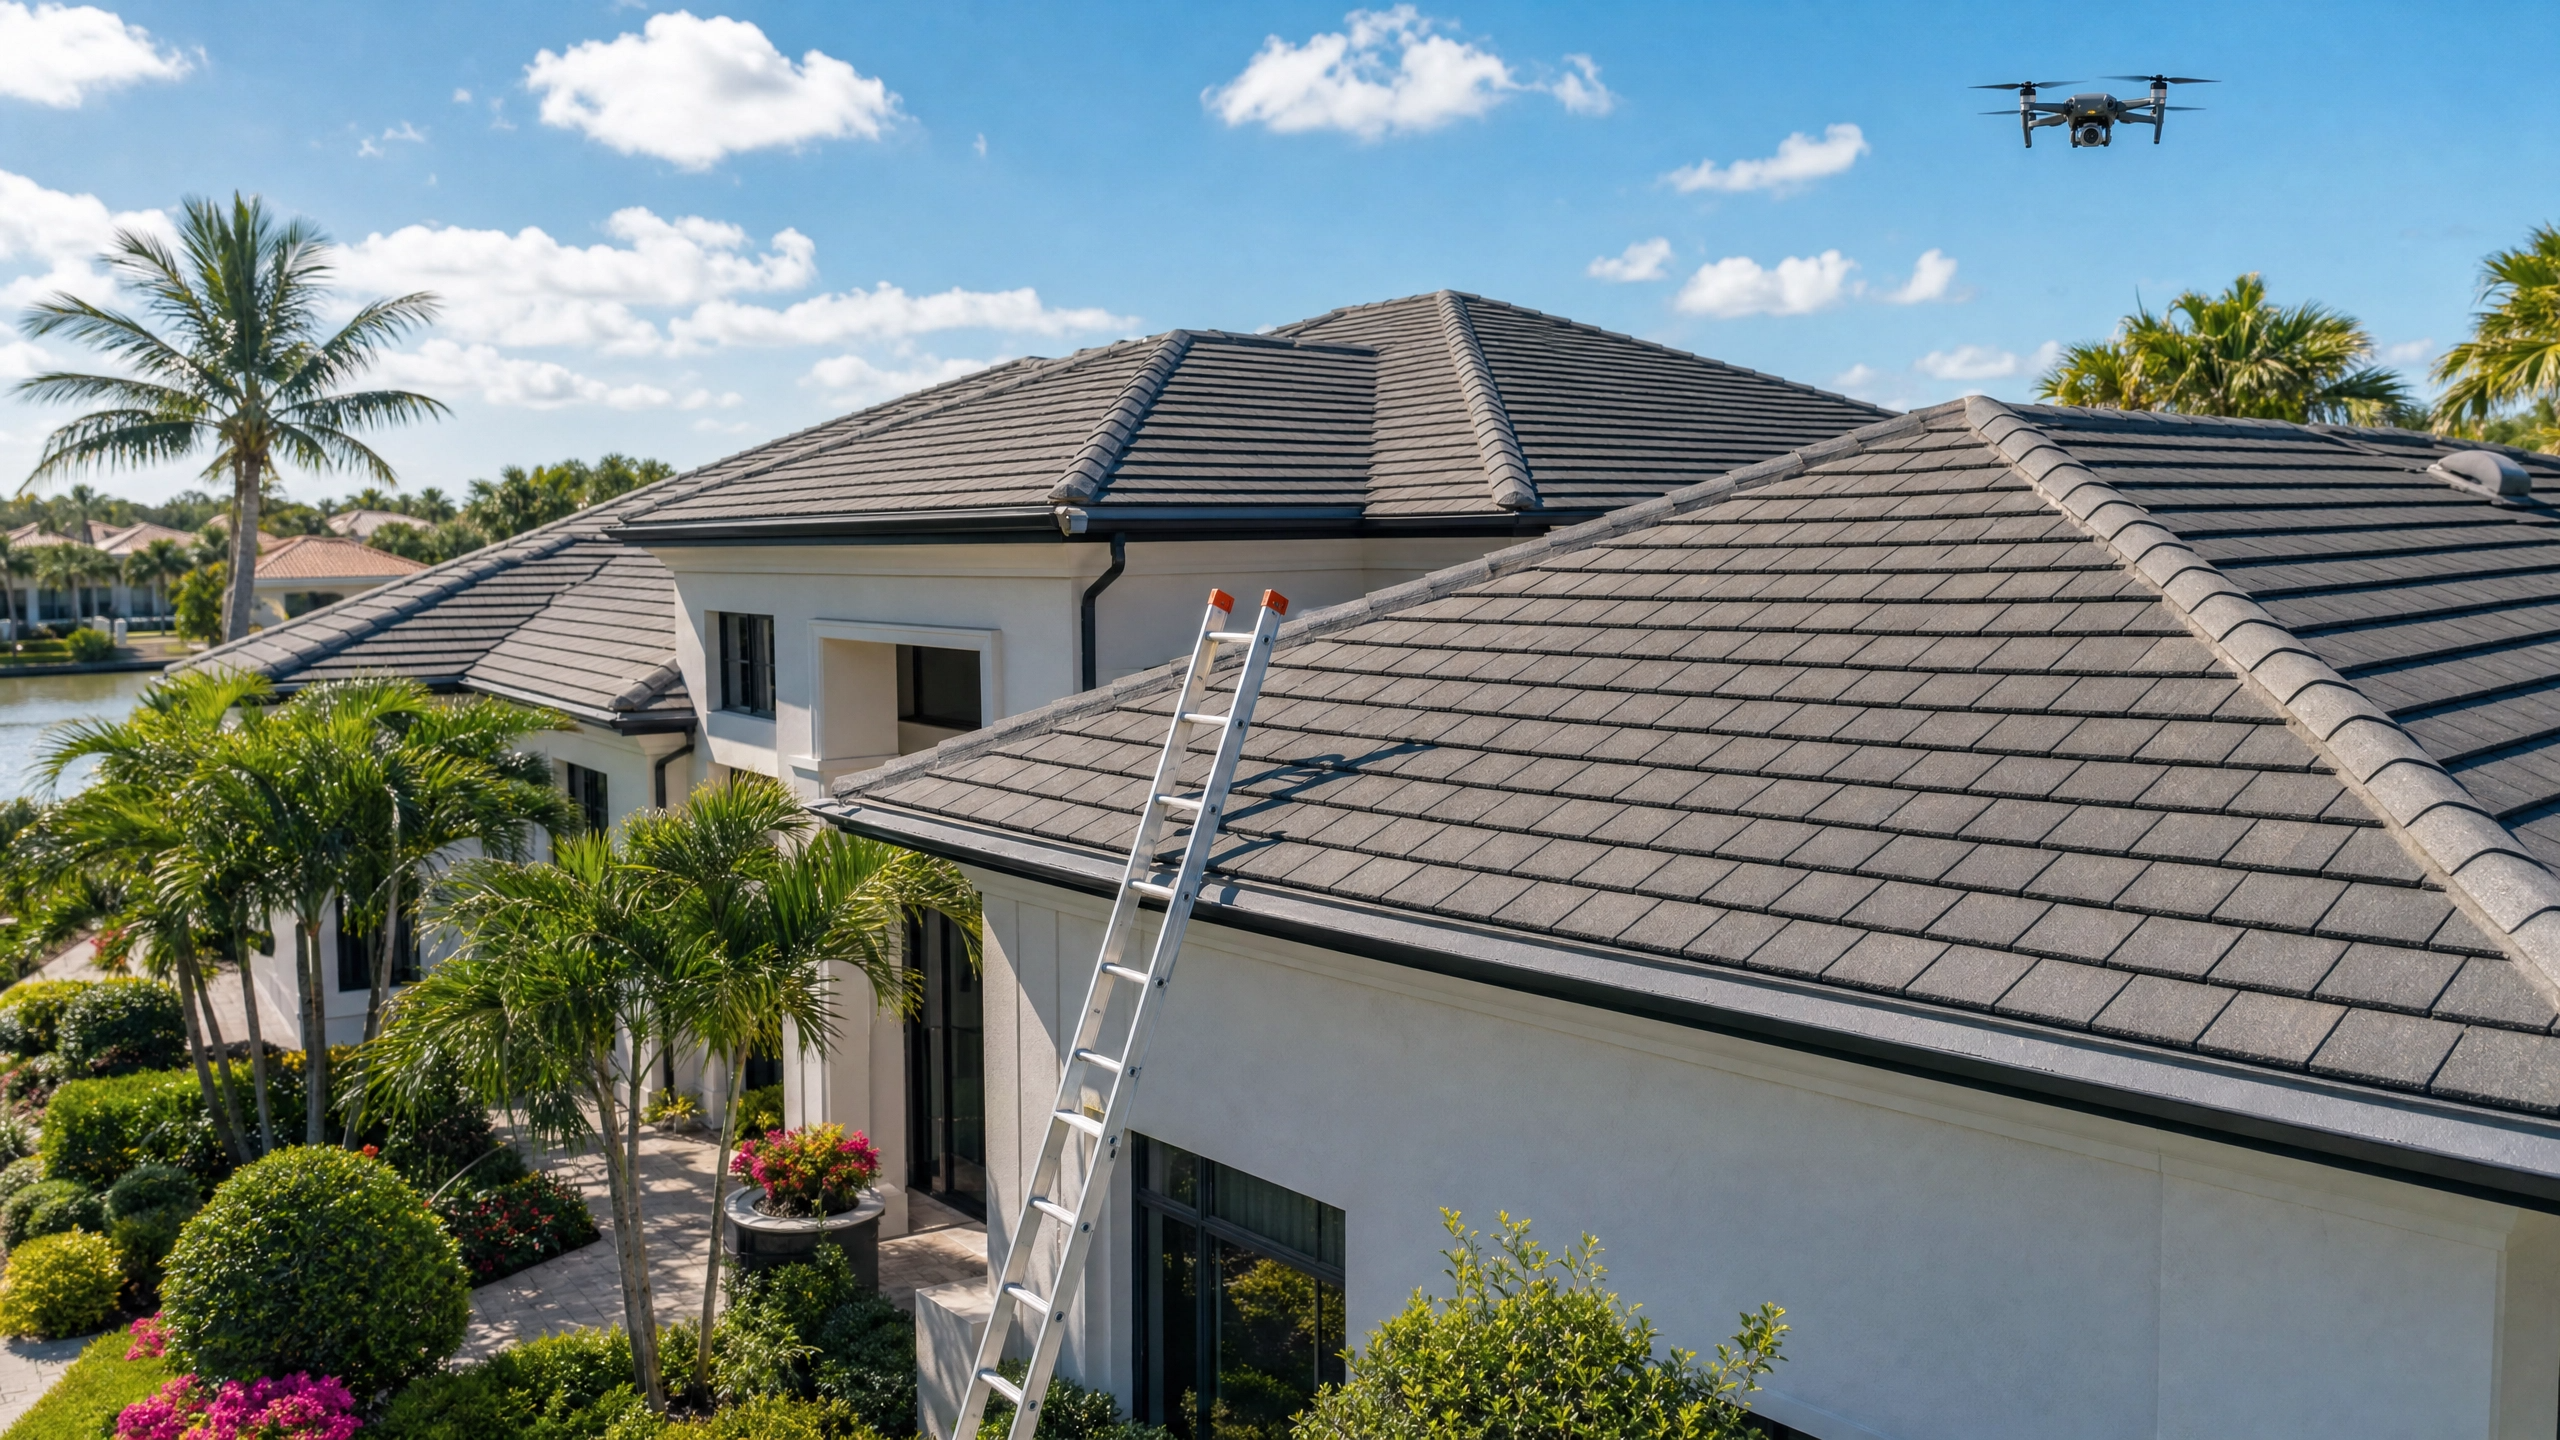
Roof Repair in Jupiter: Common Issues & 2026 Pricing
Jupiter, Florida, a vibrant community stretching from the Loxahatchee River to the Atlantic coastline, offers a diverse range of homes, each facing unique roofing challenges.
Roof Replacement Cost in Jupiter (2026)
Jupiter, Florida, is renowned for its beautiful beaches, world-class golf courses, and vibrant communities like Abacoa, Admiral’s Cove, and Jupiter Farms. For homeowners in this
Hurricane Roof Damage in Palm Beach County: The Ultimate 2026 Guide
Palm Beach County, a jewel of South Florida, is no stranger to the raw power of hurricanes. Every year, homeowners brace for hurricane season, and
Jupiter, Florida, is a community defined by its beautiful homes, coastal charm, and, inevitably, its exposure to harsh weather conditions. For homeowners considering a new roof or replacement, the question often arises: Is metal roofing in Jupiter homes truly worth the investment? With its reputation for durability, longevity, and hurricane resistance, metal roofing has become an increasingly popular choice. This guide delves into the benefits, costs, and long-term value of metal roofs in Jupiter, helping you decide if it is the right wind resistant and water-tight solution for your property.
Quick Summary
Investing in metal roofing in Jupiter homes can be a smart long-term decision. Known for superior durability, hurricane resistance, and energy efficiency, metal roofs offer excellent protection against the Florida climate, especially salt air corrosion. While the initial cost is higher than traditional shingles, the extended lifespan (50+ years) and lower maintenance often result in a better return on investment. Understanding local building codes and choosing a reputable contractor are key to ensuring a wind resistant and water-tight installation.
Table of Contents
- The Appeal of Metal Roofing in Jupiter
- Types of Metal Roofing for Jupiter Homes
- Cost vs. Value: The ROI of Metal Roofing
- Hurricane Resistance and Salt Air Protection
- Energy Efficiency and Environmental Benefits
- FAQ: Metal Roofing Jupiter
- BLU Roofing: Your Metal Roofing Experts in Jupiter
The Appeal of Metal Roofing in Jupiter
Metal roofing has gained significant traction in Jupiter for several compelling reasons:
- Exceptional Durability: Metal roofs are built to last, often exceeding 50 years with proper maintenance.
- Superior Weather Resistance: They excel in resisting high winds, heavy rains, and hail, crucial for a hurricane-prone region. For more on hurricane protection, see our guide on Hurricane Roof Damage in Palm Beach County: The Ultimate 2026 Guide.
- Energy Efficiency: Many metal roofs are considered “cool roofs” due to their ability to reflect solar radiation, reducing heat absorption and lowering cooling costs.
- Low Maintenance: Once installed, metal roofs require minimal upkeep compared to other materials.
- Aesthetic Versatility: Available in a wide range of colors, profiles, and finishes, metal roofs can complement any architectural style, from modern to traditional.
Types of Metal Roofing for Jupiter Homes
When considering metal roofing Jupiter homeowners have several options, each with distinct characteristics:
| Type of Metal Roof | Description | Best Suited For |
|---|---|---|
| Standing Seam Metal | Features raised seams that interlock, concealing fasteners. Offers a sleek, modern look and superior weather protection. Typically aluminum or galvalume steel. | High-end residential, coastal properties (e.g., Jupiter Inlet Colony, Jupiter Island), modern architectural styles. |
| Metal Shingles/Tiles | Stamped or formed metal panels designed to mimic the appearance of traditional asphalt shingles, wood shakes, or clay tiles. | Homeowners desiring the look of traditional materials with the benefits of metal, suitable for various Jupiter neighborhoods. |
| Corrugated Metal | Characterized by its wavy, ribbed profile. Often used for agricultural or industrial buildings, but also for modern or rustic residential designs. | Utility buildings, contemporary designs, some Jupiter Farms properties. |
For a broader comparison of materials, consult our guide on Best Roofing Materials for Jupiter Homes: Salt Air & Sun Protection.
Cost vs. Value: The ROI of Metal Roofing
The initial cost of metal roofing in Jupiter is generally higher than traditional asphalt shingles. However, when evaluating the investment, it is crucial to consider the long-term value:
- Extended Lifespan: Metal roofs can last 50 years or more, often outliving 2-3 asphalt shingle roofs. This means fewer replacements over the home’s lifetime.
- Lower Maintenance: Metal roofs are less prone to issues like moss, algae, and wind damage, reducing repair costs. For common repair issues, see our guide on Roof Repair in Jupiter: Common Issues & 2026 Pricing.
- Energy Savings: The reflective properties of metal can lead to significant reductions in cooling costs, especially during Jupiter’s hot summers.
- Increased Home Value: A metal roof is a significant upgrade that can enhance your home’s curb appeal and resale value.
- Insurance Discounts: Many insurance providers offer discounts for metal roofs due to their superior hurricane resistance.
Based on our 2026 project data in Palm Beach County, while a metal roof might cost 2-3 times more upfront than a standard shingle roof, its total cost of ownership over 50 years is often lower due to longevity and energy savings. For detailed pricing, refer to our Roof Replacement Costs in Jupiter (2026).
Hurricane Resistance and Salt Air Protection
Jupiter’s location in a High Velocity Hurricane Zone (HVHZ) makes hurricane resistance a top priority. Metal roofs, particularly standing seam systems, are engineered to withstand extreme wind speeds (often rated for 150+ MPH) and are highly resistant to wind uplift. Their interlocking panels and robust fastening systems prevent water intrusion during heavy rains, a critical factor in preventing widespread damage. For coastal properties, such as those in Jupiter Inlet Colony or along the Intracoastal, aluminum metal roofs offer unparalleled protection against salt-air corrosion, ensuring the roof’s integrity for decades.
Energy Efficiency and Environmental Benefits
Beyond durability, metal roofs offer substantial energy and environmental advantages:
- Cool Roof Technology: Metal roofs can reflect up to 70% of solar energy, significantly reducing attic temperatures and decreasing the demand on air conditioning systems. This is particularly beneficial in Jupiter’s warm climate.
- Recyclability: Metal roofing materials are often made from recycled content and are 100% recyclable at the end of their long lifespan, making them an environmentally friendly choice.
- Longevity: Their extended lifespan means less waste sent to landfills compared to shorter-lived roofing materials.
FAQ: Metal Roofing Jupiter
Q: Does a metal roof attract lightning?
A: No, a metal roof does not increase the likelihood of a lightning strike. In the event of a strike, a metal roof can actually dissipate the electrical charge more safely than other materials, as metal is a non-combustible material.
Q: Can I walk on a metal roof?
A: Yes, you can walk on most metal roofs, but it is important to know where to step to avoid damaging the panels. Always consult with your roofing contractor for specific guidance on walking on your particular metal roof system.
Q: Are metal roofs noisy during rain?
A: Modern metal roofs, especially those installed over solid sheathing and with proper insulation, are typically no noisier than other roofing materials during rain. The sound is often muffled by the attic space and interior ceilings.
Q: Do metal roofs rust in Jupiter’s coastal environment?
A: High-quality aluminum metal roofs are highly resistant to rust and corrosion, making them an excellent choice for Jupiter’s coastal environment. Steel metal roofs with advanced coatings (like galvalume) also offer good protection, but aluminum is generally preferred for extreme salt-air exposure.
BLU Roofing: Your Metal Roofing Experts in Jupiter
Deciding on metal roofing Jupiter homes require is a significant decision that impacts your home’s protection, energy efficiency, and long-term value. At BLU Roofing, we are specialists in the installation and maintenance of high-performance metal roofing systems, perfectly suited for Jupiter’s unique climate. Our team understands the nuances of local building codes and the specific needs of properties in areas like Jupiter Inlet Colony, Jupiter Island, and Jupiter Farms, ensuring a wind resistant and water-tight installation that stands the test of time.
Invest in the future of your Jupiter home with a durable, energy-efficient, and beautiful metal roof. Contact Peter Menke at 561-379-5364 for a free consultation and discover why BLU Roofing is the trusted choice for superior metal roofing solutions.
Written By: Peter Menke
Peter Menke is the owner of BLU Roofing and has been serving the South Florida roofing industry for over 6 years. He founded BLU Roofing to provide homeowners with transparent, accurate data grounded in the reality of Florida’s unique climate and building codes, information that is often missing from generic national roofing advice. License #CCC1337285
Jupiter, Florida, with its stunning coastline, vibrant communities like Abacoa, and lush natural preserves, presents a unique set of environmental challenges for homeowners. The relentless Florida sun, coupled with the corrosive effects of salt air near the Jupiter Inlet and the constant threat of hurricanes, demands roofing materials that are not only aesthetically pleasing but also exceptionally durable and protective. Choosing the best roofing materials for Jupiter homes require means balancing longevity, performance, and cost. This guide explores the top options for 2026, focusing on their ability to withstand the local climate and keep your home wind resistant and water-tight.
Quick Summary
Selecting the best roofing materials Jupiter homes need involves considering salt air, intense sun, and hurricane resistance. Top choices for 2026 include aluminum standing seam metal (excellent for coastal areas), concrete and clay tile (durable and energy-efficient), and high-performance architectural asphalt shingles. Factors like local building codes, HOA requirements, and long-term value are crucial. Partnering with a licensed local contractor ensures your choice is wind resistant and water-tight, providing optimal protection for your Jupiter home.
Table of Contents
- The Jupiter Climate and Its Impact on Roofing
- Coastal Considerations: Salt Air and Corrosion
- Energy Efficiency and Sun Protection
- Understanding Warranties and Lifespan
- FAQ: Best Roofing Materials Jupiter
- BLU Roofing: Your Expert Guide to Jupiter Roofing Materials
The Jupiter Climate and Its Impact on Roofing
Jupiter homeowners face a unique combination of environmental factors that significantly influence the performance and lifespan of roofing materials:
- Intense UV Radiation: The Florida sun is powerful, causing materials to degrade, fade, and become brittle over time.
- High Humidity and Rainfall: Frequent heavy rains and high humidity contribute to mold, mildew, and algae growth, and can exacerbate water intrusion issues if the roof is not properly sealed.
- Salt Air Exposure: Homes near the coast, particularly in areas like Jupiter Inlet Colony and Jupiter Island, are constantly exposed to salt-laden air, which can corrode certain metals and degrade other materials.
- Hurricane and Storm Activity: As part of a High Velocity Hurricane Zone (HVHZ), Jupiter roofs must withstand extreme wind uplift pressures and wind-driven rain. For more on hurricane preparedness, see our guide on Hurricane Roof Damage in Palm Beach County: The Ultimate 2026 Guide.
Top Roofing Materials for Jupiter Homes
Based on these challenges and our 2026 project data in Palm Beach County, here are the best roofing materials for Jupiter homeowners should consider:
| Material Type | Pros for Jupiter Climate | Considerations |
|---|---|---|
| Aluminum Standing Seam Metal | Superior wind resistance (150+ MPH), excellent corrosion resistance (ideal for salt air), long lifespan (30+ years), energy-efficient (cool roof options). | Higher initial cost, requires specialized installation. |
| Concrete & Clay Tile | Exceptional durability, high wind resistance (120-150+ MPH), energy-efficient, long lifespan (25+ years), classic aesthetic. | Heavy (may require structural reinforcement), higher initial cost, can be brittle if walked on improperly. |
| High-Performance Architectural Asphalt Shingles | Cost-effective, good wind resistance (110-130 MPH with impact rating), wide range of styles and colors. | Shorter lifespan (15-25 years in Florida), less energy-efficient than metal or tile. |
| TPO/PVC (Flat Roofs) | Excellent waterproofing, highly reflective (energy-efficient), durable seams, good wind resistance. | Primarily for low-slope or flat roof sections, aesthetic may not suit all homes. |
For a detailed breakdown of costs, refer to our guide on Roof Replacement Costs in Jupiter (2026).
Coastal Considerations: Salt Air and Corrosion
Homes located within a few miles of the Jupiter coastline, including those in Jupiter Inlet Colony and along the Intracoastal Waterway, are subject to increased salt-air exposure. This saline environment can accelerate corrosion in certain roofing materials, particularly galvanized steel or unprotected fasteners. For these properties, aluminum standing seam metal roofs are often the superior choice due to aluminum’s natural resistance to rust and corrosion. Tile roofs also perform exceptionally well in coastal environments, provided they are properly installed and maintained. For more on specific repairs related to coastal wear, see our guide on Roof Repair in Jupiter: Common Issues & 2026 Pricing.
Energy Efficiency and Sun Protection
The intense Jupiter sun not only degrades roofing materials but also contributes significantly to cooling costs. Choosing energy-efficient roofing can lead to substantial savings over time:
- Cool Roof Technology: Materials with high solar reflectance and thermal emittance (e.g., light-colored metal, white TPO/PVC, or specially coated tiles) reflect more sunlight and absorb less heat, keeping your attic and home cooler.
- Ventilation: Proper attic ventilation works in conjunction with your roofing material to dissipate heat, reducing the load on your HVAC system.
- Insulation: While not a roofing material, adequate attic insulation is crucial for maximizing the energy efficiency benefits of your chosen roof.
Understanding Warranties and Lifespan
When investing in new roofing materials, understanding the available warranties and expected lifespan is crucial. Most manufacturers offer material warranties, and reputable contractors provide workmanship warranties. In Jupiter, due to the harsh climate, it is especially important to choose materials and installers that offer robust, long-term protection. Always ensure your chosen materials and installation methods comply with Jupiter Roofing Permits & Building Codes to maintain warranty validity.
FAQ: Best Roofing Materials Jupiter
Q: Which roofing material offers the best hurricane protection in Jupiter?
A: Aluminum standing seam metal and concrete/clay tile roofs generally offer the highest level of hurricane protection due to their superior wind resistance and durability. Proper installation according to Florida Building Codes is paramount for any material.
Q: Are metal roofs noisy during rain in Jupiter?
A: Modern metal roofs, especially those with solid sheathing and proper insulation, are typically no noisier than other roofing materials during rain. The sound is often muffled by the attic space and interior ceilings.
Q: How important is color choice for energy efficiency in Jupiter?
A: Color choice can be very important. Lighter-colored roofing materials reflect more sunlight and absorb less heat, contributing to a cooler home and potentially lower energy bills, especially for materials like asphalt shingles and TPO/PVC.
Q: Do I need to consider HOA rules when choosing roofing materials in Jupiter?
A: Yes, many communities in Jupiter, such as Abacoa and Admiral’s Cove, have Homeowners Association (HOA) guidelines that dictate approved roofing materials, colors, and styles. Always check with your HOA before making a final decision.
BLU Roofing: Your Expert Guide to Jupiter Roofing Materials
Choosing the best roofing materials for Jupiter homes demand requires expert knowledge of local climate, building codes, and material performance. At BLU Roofing, we specialize in guiding homeowners through this crucial decision, offering a range of high-performance, wind resistant and water-tight options tailored to your specific needs and budget. Our team ensures every installation meets the highest standards of quality and compliance, providing lasting protection against Jupiter’s challenging environment.
Ready to explore the best roofing solution for your Jupiter home? Contact Peter Menke at 561-379-5364 for a free consultation and discover how BLU Roofing can enhance the durability, efficiency, and beauty of your property.
Written By: Peter Menke
Peter Menke is the owner of BLU Roofing and has been serving the South Florida roofing industry for over 6 years. He founded BLU Roofing to provide homeowners with transparent, accurate data grounded in the reality of Florida’s unique climate and building codes, information that is often missing from generic national roofing advice. License #CCC1337285
For homeowners in Jupiter, Florida, understanding the local roofing permits and building codes is not just a bureaucratic formality; it is a critical step in ensuring the safety, longevity, and compliance of your home. From the bustling communities of Abacoa to the serene estates of Jupiter Farms, every roof project must adhere to stringent regulations designed to protect properties against Florida’s unique climate challenges, especially hurricanes. This guide provides a comprehensive overview of Jupiter roofing permits and building codes in 2026, helping you navigate the process with confidence and ensure your roof is wind resistant and water-tight.
Quick Summary
Navigating Jupiter roofing permits and building codes is essential for any roof project in 2026. All roof replacements and significant repairs require permits from the Town of Jupiter Building Department, ensuring compliance with the Florida Building Code, including High Velocity Hurricane Zone (HVHZ) standards and mandatory Secondary Water Barriers (SWR). Working with a licensed local contractor is crucial for proper permitting, inspections, and ensuring your roof is wind resistant and water-tight.
Table of Contents
- Why Are Jupiter Roofing Permits and Codes So Important?
- The Jupiter Permitting Process for Roofing Projects
- Key Florida Building Code Requirements for Jupiter Roofs
- Common Permitting Challenges and How to Avoid Them
- Choosing a Contractor Who Understands Jupiter Codes
- FAQ: Jupiter Roofing Permits & Building Codes
- BLU Roofing: Your Guide to Code-Compliant Roofing in Jupiter
Why Are Jupiter Roofing Permits and Codes So Important?
Jupiter, like the rest of Palm Beach County, is located in a High Velocity Hurricane Zone (HVHZ), meaning it is subject to some of the strictest building codes in the nation. These codes are not arbitrary; they are designed to protect homes and families from the devastating effects of hurricanes and tropical storms. Obtaining Jupiter roofing permits and adhering to these codes ensures:
- Safety: Proper installation techniques and materials prevent roof failure during extreme weather events.
- Durability: Compliance means your roof is built to last, providing maximum protection against wind, rain, and sun.
- Insurance Coverage: Unpermitted work can lead to denied insurance claims in the event of damage.
- Property Value: A properly permitted and inspected roof adds significant value and peace of mind when selling your home.
- Legal Compliance: Avoiding fines and potential legal issues with the Town of Jupiter.
For more on how these codes protect against severe weather, refer to our comprehensive guide on Hurricane Roof Damage in Palm Beach County: The Ultimate 2026 Guide.
The Jupiter Permitting Process for Roofing Projects
Any significant roof work, including full replacements and most repairs, requires a permit from the Town of Jupiter Building Department. Here is a general outline of the process:
- Application Submission: Your licensed roofing contractor will submit a detailed permit application, including scope of work, materials to be used, and often engineering drawings.
- Plan Review: The Building Department reviews the plans to ensure they comply with all current Florida Building Codes and local ordinances.
- Permit Issuance: Once approved, the permit is issued, allowing work to begin.
- Inspections: Throughout the project, various inspections are required (e.g., dry-in, final) to verify that the work is being performed according to approved plans and codes.
- Final Approval: Upon successful completion of all inspections, the permit is closed, signifying that the work is fully compliant.
Understanding this process is key to a smooth project. For insights into the financial aspect, see our guide on Roof Replacement Costs in Jupiter (2026).
Key Florida Building Code Requirements for Jupiter Roofs
The Florida Building Code (FBC), particularly the High Velocity Hurricane Zone (HVHZ) provisions, dictates several critical requirements for roofing in Jupiter:
- Wind Resistance: Roof systems must be designed and installed to withstand specific wind uplift pressures, which vary based on the home’s location and height.
- Secondary Water Barrier (SWR): A mandatory underlayment that provides an additional layer of waterproofing, protecting your home from water intrusion even if the primary roof covering is compromised during a storm. This is a crucial defense against wind-driven rain.
- Fastening Schedules: Specific requirements for how roofing materials (shingles, tiles, metal panels) must be fastened to the roof deck to prevent detachment during high winds.
- Material Standards: All roofing materials must meet strict product approval standards for use in Florida.
- Ventilation: Proper attic ventilation is required to prevent heat buildup and moisture accumulation, which can degrade roofing materials and lead to structural issues.
These codes are constantly updated, with the 2026 FBC incorporating the latest research and best practices for hurricane resilience.
Common Permitting Challenges and How to Avoid Them
While the permitting process is straightforward with an experienced contractor, homeowners should be aware of potential pitfalls:
- Unlicensed Contractors: Hiring an unlicensed contractor is illegal and risky. They cannot pull permits, and their work will not be inspected, leaving you vulnerable to shoddy workmanship and denied insurance claims.
- Incomplete Applications: Missing documentation or incorrect information can delay permit issuance.
- Failed Inspections: Work not performed to code will fail inspection, requiring costly re-work and re-inspections.
- HOA Conflicts: Failing to check with your Homeowners Association (HOA) before selecting materials or colors can lead to costly changes.
For minor issues that might not require a full permit, but still need professional attention, our guide on Roof Repair in Jupiter: Common Issues & 2026 Pricing offers valuable insights.
Choosing a Contractor Who Understands Jupiter Codes
The most critical decision in any roofing project is selecting the right contractor. For Jupiter roofing permits and code compliance, look for a company that:
- Is Locally Licensed: Possesses a valid Florida roofing contractor license (CCC).
- Has Local Experience: Is intimately familiar with the Town of Jupiter Building Department and its specific requirements.
- Provides Transparent Communication: Clearly explains the permitting and inspection process.
- Offers Comprehensive Service: Handles all aspects of the project, from permit application to final inspection.
FAQ: Jupiter Roofing Permits & Building Codes
Q: How long does it take to get a roofing permit in Jupiter?
A: Permit processing times can vary, but typically range from a few days to a couple of weeks, depending on the completeness of the application and the Building Department’s workload. Your contractor can provide a more accurate estimate.
Q: What happens if I replace my roof without a permit in Jupiter?
A: Unpermitted work can lead to stop-work orders, fines, difficulty selling your home, and potentially voided insurance coverage. It is always advisable to obtain the necessary permits.
Q: Are there different codes for coastal properties in Jupiter?
A: Yes, properties closer to the coast in Jupiter are often subject to even stricter wind-load requirements and material specifications due to their exposure to higher wind speeds and salt spray. These are part of the HVHZ provisions of the Florida Building Code.
Q: Does a roof repair always require a permit?
A: Minor repairs, such as replacing a few shingles, may not require a permit. However, any repair that involves more than 25% of the roof area or affects the structural integrity typically does. Always consult with a licensed contractor or the Town of Jupiter Building Department to be sure.
BLU Roofing: Your Guide to Code-Compliant Roofing in Jupiter
Navigating Jupiter roofing permits and the complexities of Florida Building Codes can be daunting. At BLU Roofing, we specialize in ensuring every project, from minor repairs to full replacements, is fully compliant, safe, and built to last. Our team is intimately familiar with the Town of Jupiter Building Department processes and the stringent HVHZ requirements, guaranteeing a smooth and hassle-free experience.
Protect your investment and ensure your peace of mind. Contact Peter Menke at 561-379-5364 for a free consultation on your next roofing project. Let BLU Roofing provide you with a wind resistant and water-tight roof that meets and exceeds all Jupiter building codes.
Written By: Peter Menke
Peter Menke is the owner of BLU Roofing and has been serving the South Florida roofing industry for over 6 years. He founded BLU Roofing to provide homeowners with transparent, accurate data grounded in the reality of Florida’s unique climate and building codes, information that is often missing from generic national roofing advice. License #CCC1337285
Jupiter, Florida, a vibrant community stretching from the Loxahatchee River to the Atlantic coastline, offers a diverse range of homes, each facing unique roofing challenges. Whether you reside in the family-friendly neighborhoods of Abacoa, the equestrian estates of Jupiter Farms, or the luxurious waterfront properties along the Intracoastal, maintaining your roof is crucial for protecting your investment. This guide delves into common roof repair Jupiter homeowners encounter, provides insights into 2026 pricing, and offers expert advice to ensure your roof remains wind resistant and water-tight against Florida’s demanding climate.
Quick Summary
Effective roof repair Jupiter requires addressing common issues like wind damage, tile slippage, and salt-air corrosion. In 2026, repair costs vary based on the extent of damage and material, ranging from $600 for minor fixes to over $5,000 for extensive repairs. Proactive inspections and timely repairs are essential to prevent minor issues from escalating into costly replacements. Always choose a licensed local contractor to ensure quality workmanship and compliance with Florida Building Codes, keeping your home wind resistant and water-tight.
Table of Contents
- Common Roof Repair Issues in Jupiter
- 2026 Roof Repair Pricing in Jupiter
- When to Repair vs. Replace Your Jupiter Roof
- Choosing a Jupiter Roof Repair Specialist
- FAQ: Roof Repair Jupiter
- BLU Roofing: Your Jupiter Roof Repair Experts
Common Roof Repair Issues in Jupiter
Jupiter’s unique environment, characterized by strong sun, heavy rains, and occasional hurricanes, contributes to several prevalent roof repair issues:
- Wind Damage: Even outside of hurricane season, strong thunderstorms can cause significant wind damage. This often manifests as missing or lifted shingles, particularly in older roofs or those with less robust fastening. Coastal areas, including those near the Jupiter Inlet, are especially vulnerable.
- Tile Slippage and Cracks: For homes with tile roofs, common in many Jupiter communities, tiles can shift or crack due to age, foot traffic, or impact from debris. This is a frequent issue in areas like Abacoa.
- Salt-Air Corrosion: Properties closer to the ocean, such as those in Jupiter Island or along the Intracoastal, experience increased exposure to salt spray. This can accelerate corrosion in metal components and lead to degradation of certain roofing materials. For more on coastal roofing, see our guide on Singer Island Roofing: Aluminum Standing Seam vs. Concrete Tile.
- Tree Debris Damage: Homes in areas with mature trees, like Jupiter Farms, are susceptible to damage from falling branches during storms, leading to punctures or structural compromise.
- Flashing Leaks: The areas around chimneys, skylights, and vents are common points of failure if flashing is improperly installed or deteriorates over time, leading to water intrusion.
- Granule Loss: Asphalt shingles, particularly after years of sun exposure and heavy rain, can lose their protective granules, reducing their effectiveness and lifespan.
2026 Roof Repair Pricing in Jupiter
The cost of roof repair in Jupiter homeowners can expect in 2026 varies widely depending on the type and extent of the damage, as well as the roofing material. Based on our 2026 project data in Palm Beach County, here are some general price ranges:
| Type of Repair | Estimated Cost Range (2026) | Notes |
|---|---|---|
| Minor Shingle Repair (1-10 shingles) | $600 – $1000 | Includes labor and materials for small, isolated areas. |
| Tile Replacement (1-5 tiles) | $400 – $600 | Cost varies by tile type and accessibility. |
| Flashing Repair | $1200 – $2,500 | Depends on location and complexity of the flashing. |
| Leak Detection & Repair | $600 – $2,500+ | Can be more if damage to underlayment or decking is extensive. |
| Storm Damage Repair (Moderate) | $1,500 – $5,000+ | Involves larger sections of roofing, potentially minor decking repair. |
For more extensive damage, a full roof replacement in Jupiter might be a more cost-effective long-term solution.
When to Repair vs. Replace Your Jupiter Roof
Deciding between repair and replacement is a common dilemma for Jupiter homeowners. Consider these factors:
- Age of Roof: If your roof is nearing the end of its expected lifespan (e.g., asphalt shingles typically last 15-20 years in Florida), a replacement often makes more sense than repeated repairs.
- Extent of Damage: Isolated damage can be repaired. Widespread issues, such as significant granule loss across the entire roof or multiple areas of structural compromise, usually warrant a full replacement.
- Cost of Repairs: If the cost of repairs approaches 25-30% of a new roof, it may be more economical to invest in a full replacement.
- Insurance Coverage: For severe storm damage, your homeowner’s insurance may cover a significant portion of a full replacement. For guidance on this, refer to our Hurricane Roof Damage in Palm Beach County: The Ultimate 2026 Guide.
Choosing a Jupiter Roof Repair Specialist
When seeking roof repair Jupiter services, it is crucial to select a reputable and experienced contractor:
- Local Expertise: Choose a contractor familiar with Jupiter’s specific weather patterns, building codes, and HOA requirements.
- Licensing and Insurance: Always verify that the contractor holds a valid Florida roofing contractor’s license (CCC) and carries comprehensive liability and workers’ compensation insurance.
- References and Reviews: Check online reviews and ask for local references to gauge their reputation and quality of work.
- Transparent Estimates: A trustworthy contractor will provide a detailed, written estimate outlining the scope of work, materials, and costs.
FAQ: Roof Repair Jupiter
Q: How often should I have my roof inspected in Jupiter?
A: It is recommended to have your roof inspected annually, especially before hurricane season (June 1st), and after any significant storm event. Proactive inspections can catch minor issues before they become major problems.
Q: Can I repair my roof myself?
A: While minor DIY fixes might seem appealing, roofing work can be dangerous and complex. Improper repairs can lead to further damage, void warranties, and may not comply with local building codes. It is always best to hire a licensed professional for roof repair Jupiter.
Q: Will my insurance cover roof repairs?
A: Most homeowner’s insurance policies in Florida cover roof damage caused by sudden, accidental events like storms or falling debris. However, damage due to neglect or normal wear and tear is typically not covered. Review your policy or consult with your insurance provider.
Q: How can I prevent common roof issues in Jupiter?
A: Regular maintenance, including cleaning gutters, trimming trees, and annual professional inspections, can significantly extend your roof’s lifespan and prevent many common issues. Ensuring your roof meets current wind mitigation standards can also help.
BLU Roofing: Your Jupiter Roof Repair Experts
For reliable and professional roof repair Jupiter services, trust BLU Roofing. We understand the unique challenges faced by homes in Abacoa, Jupiter Farms, and across the Jupiter area. Our team of licensed and experienced professionals is dedicated to providing prompt, effective, and lasting repair solutions that ensure your roof remains wind resistant and water-tight.
Don’t let minor roof issues escalate. Contact Peter Menke at 561-379-5364 for a free inspection and estimate. Let BLU Roofing protect your Jupiter home with quality craftsmanship and unparalleled service.
Written By: Peter Menke
Peter Menke is the owner of BLU Roofing and has been serving the South Florida roofing industry for over 6 years. He founded BLU Roofing to provide homeowners with transparent, accurate data grounded in the reality of Florida’s unique climate and building codes, information that is often missing from generic national roofing advice. License #CCC1337285
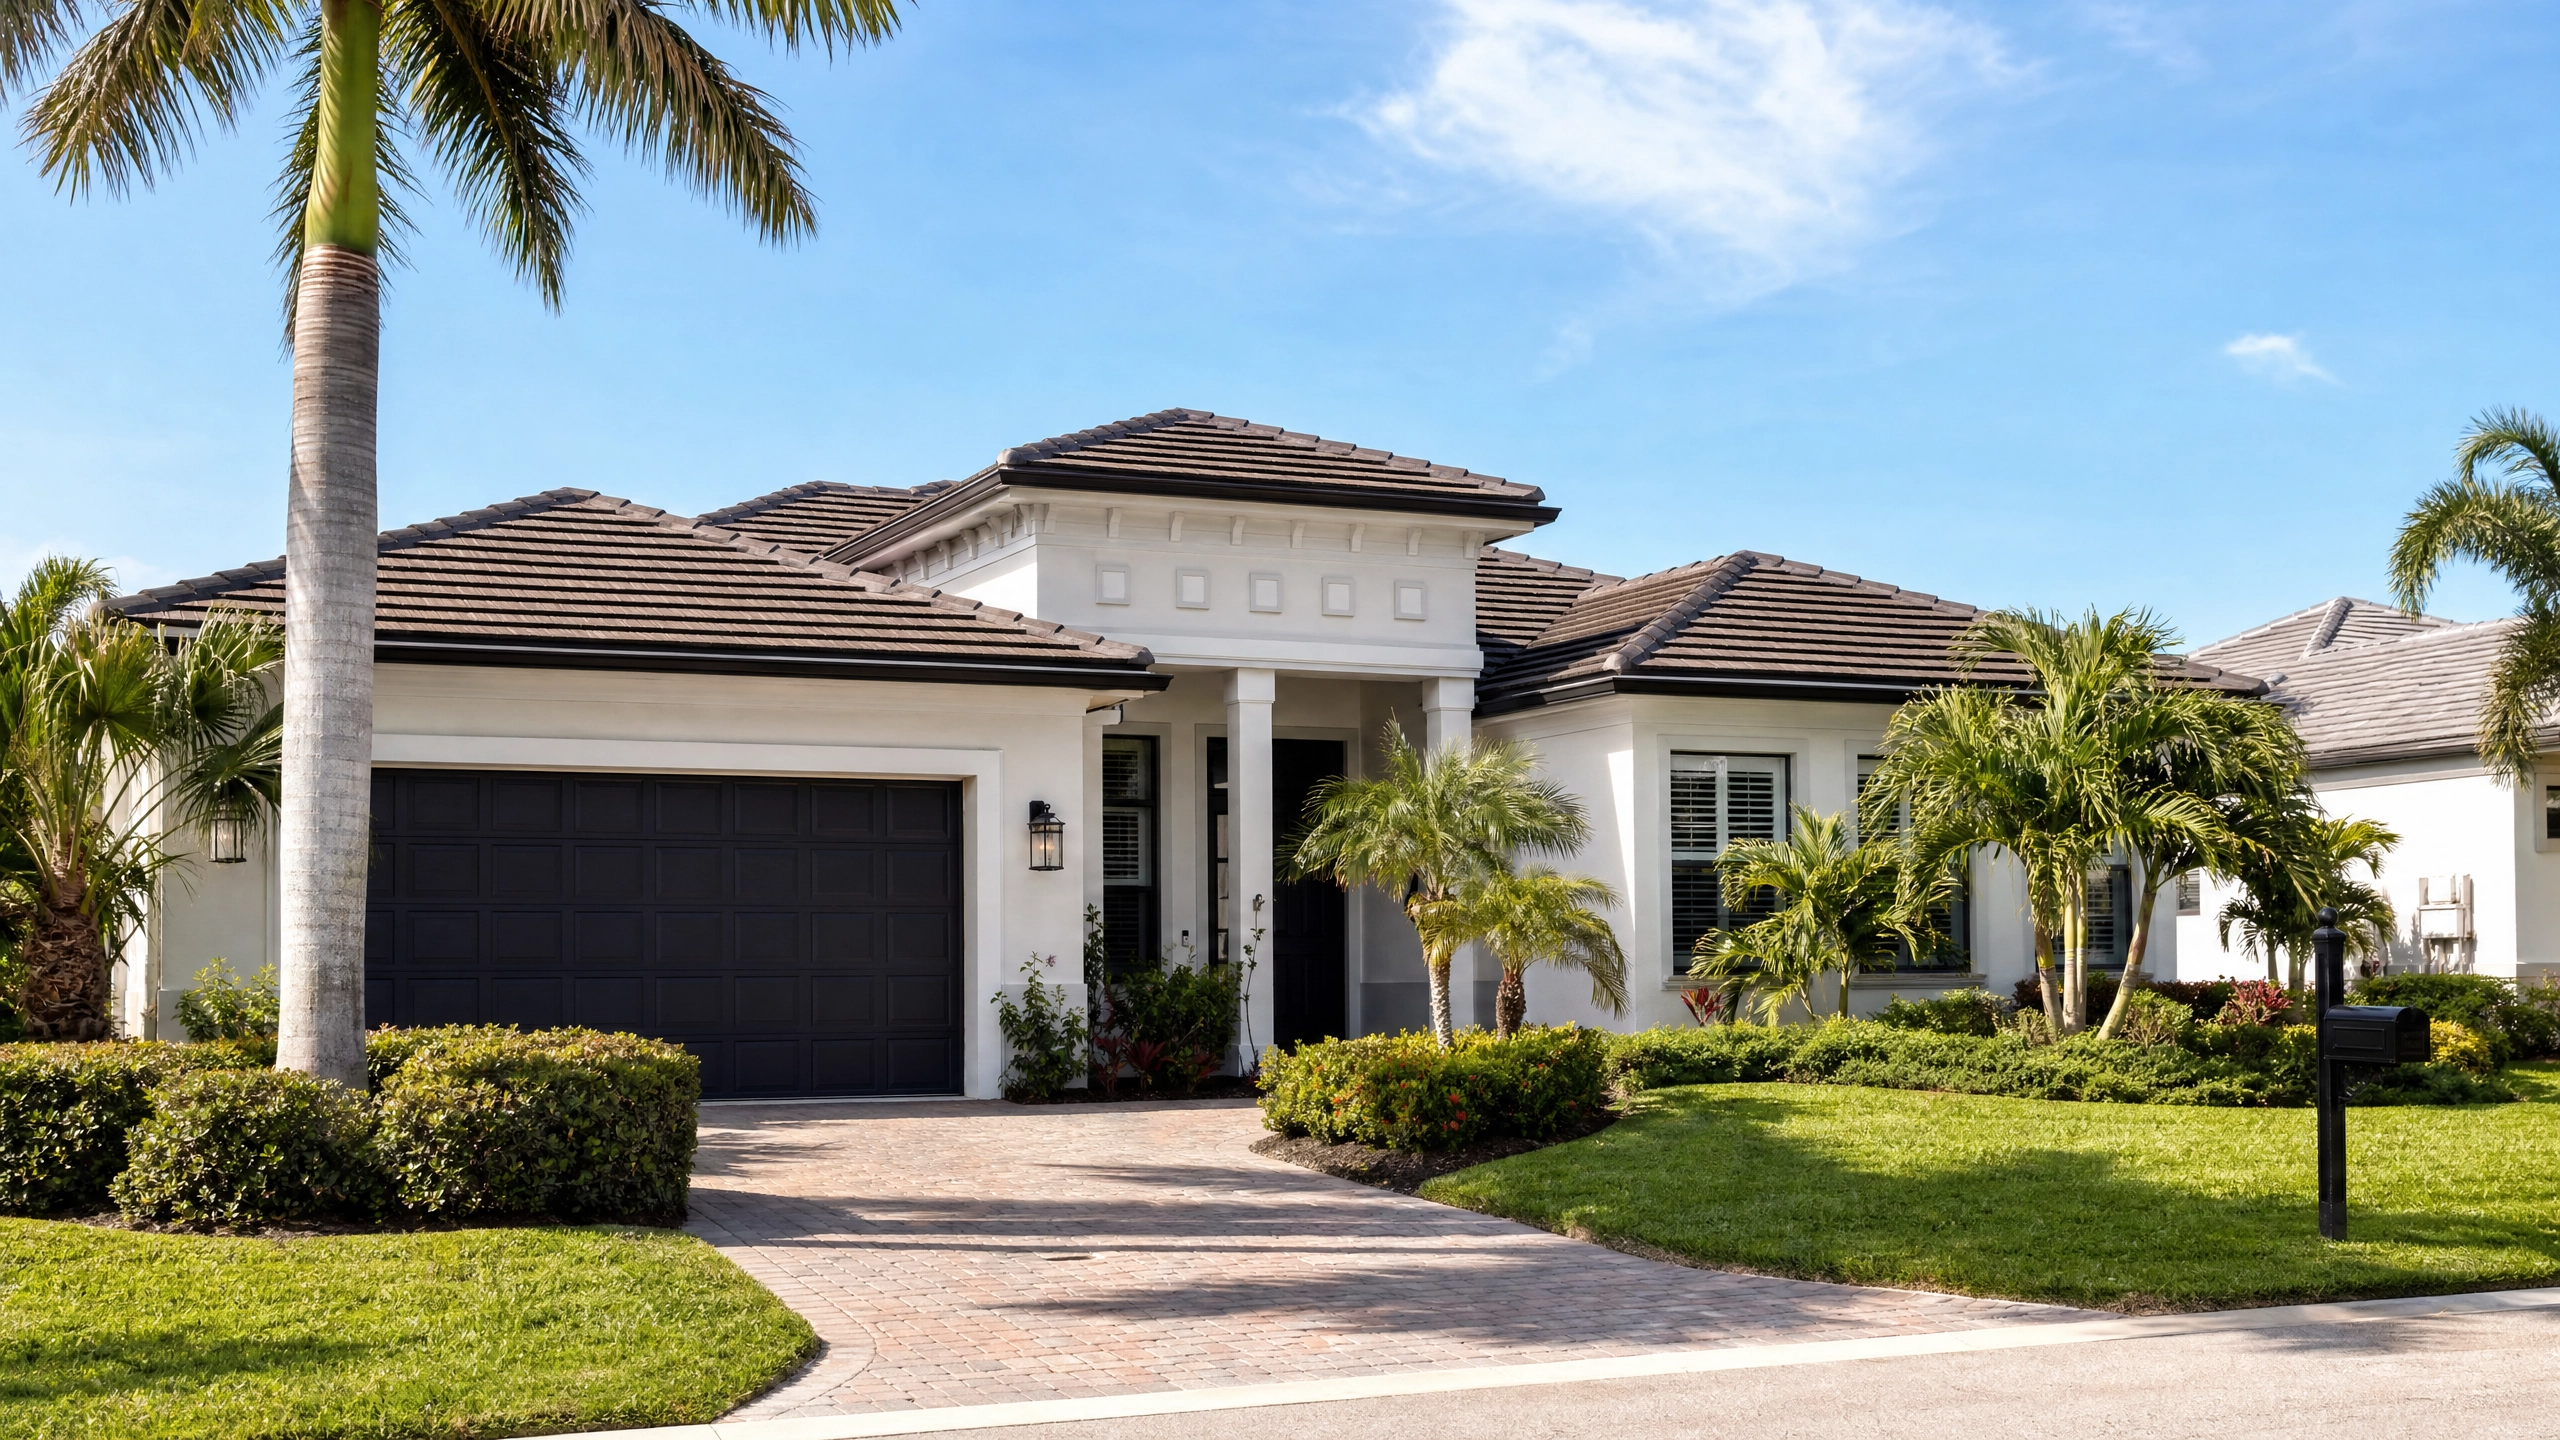
Jupiter, Florida, is renowned for its beautiful beaches, world-class golf courses, and vibrant communities like Abacoa, Admiral’s Cove, and Jupiter Farms. For homeowners in this desirable area, maintaining a high-quality roof is essential, not just for curb appeal but for protecting against Florida’s intense weather. If you’re considering a roof replacement in Jupiter, understanding the associated costs is a critical first step. This guide provides a comprehensive breakdown of roof replacement cost Jupiter homeowners can expect in 2026, covering various materials, factors influencing pricing, and tips for making a wind resistant and water-tight investment.
Quick Summary
The average roof replacement cost Jupiter homeowners face in 2026 ranges from $18,000 to $45,000, varying significantly based on material (shingles, tile, metal), roof size, complexity, and local labor rates. Factors like roof pitch, accessibility, and necessary code upgrades also influence the final price. Choosing a licensed local contractor ensures compliance with Florida Building Codes and a durable, wind resistant and water-tight roof.
Table of Contents
- Average Roof Replacement Cost in Jupiter (2026)
- Factors Influencing Roof Replacement Costs
- Roofing Material Options and Their Costs
- Jupiter-Specific Considerations and Building Codes
- Financing Your Jupiter Roof Replacement
- FAQ: Roof Replacement Cost Jupiter
- BLU Roofing: Your Trusted Jupiter Roofing Partner
Average Roof Replacement Cost in Jupiter (2026)
In 2026, the typical roof replacement cost Jupiter homeowners can expect for a standard single-family home (approximately 1,800-2,500 sq ft) generally falls within the range of $18,000 to $45,000. This broad range accounts for various factors, primarily the type of roofing material chosen and the complexity of the roof structure. For larger or more intricate homes, especially in luxury communities like Admiral’s Cove or along the Intracoastal Waterway, costs can exceed this range.
Factors Influencing Roof Replacement Costs
Several key elements contribute to the overall cost of a roof replacement in Jupiter:
- Roof Size and Pitch: Larger roofs naturally require more materials and labor. Steeper pitches increase safety risks and installation time, leading to higher costs.
- Material Choice: This is often the most significant cost driver. Asphalt shingles are generally the most affordable, while tile and metal roofing represent a higher initial investment but offer superior longevity and performance.
- Old Roof Removal: The cost of tearing off and disposing of existing roofing materials. If there are multiple layers, this cost increases.
- Structural Repairs: Any necessary repairs to the underlying roof deck or trusses due to rot, water damage, or previous storm damage will add to the total.
- Accessibility: Homes with difficult access for equipment and materials (e.g., tight lots, extensive landscaping) may incur additional labor costs.
- Permits and Inspections: All roof replacements in Jupiter require permits from the Town of Jupiter Building Department, ensuring compliance with Florida Building Codes. These fees are typically included in the contractor’s estimate.
- Code Upgrades: Older homes may require upgrades to meet current Florida Building Code standards, such as enhanced ventilation or secondary water barriers, which add to the cost but significantly improve durability.
Roofing Material Options and Their Costs
Here’s a breakdown of common roofing materials and their estimated costs per square foot for Jupiter homeowners in 2026, based on our project data in Palm Beach County:
| Material Type | Estimated Cost Per Sq. Ft. (Installed) | Pros for Jupiter Homes |
|---|---|---|
| Architectural Asphalt Shingles | $6 – $8 | Cost-effective, good wind resistance (impact-rated options), wide color selection. |
| Concrete & Clay Tile | $10 – $15 | Exceptional durability, excellent wind resistance, energy-efficient, long lifespan (50+ years). |
| Aluminum Standing Seam Metal | $14 – $20 | Superior wind resistance, corrosion-resistant (ideal for coastal Jupiter), energy-efficient, 50+ year lifespan. |
| Flat Roofing (TPO/PVC) | $10 – $12 | Excellent for low-slope sections, superior waterproofing, energy-efficient (white membranes). |
Jupiter-Specific Considerations and Building Codes
Jupiter homeowners, particularly those in coastal areas or communities near the Loxahatchee River, must contend with specific environmental factors and building regulations:
- Coastal Proximity: Homes in zip codes like 33469 (Jupiter Inlet Colony, Tequesta) and 33477 (Jupiter Island) are exposed to increased salt spray, which can accelerate corrosion in some materials. Aluminum metal roofs are highly recommended here.
- Florida Building Code: All roofing projects must comply with the stringent Florida Building Code, which includes enhanced wind-load requirements for Palm Beach County. This ensures your roof is designed to withstand hurricane-force winds.
- Secondary Water Barrier (SWR): A mandatory underlayment that provides an additional layer of waterproofing, protecting your home from water intrusion even if the primary roof covering is compromised during a storm.
- HOA Regulations: Many Jupiter communities, such as Abacoa and Admiral’s Cove, have Homeowners Association (HOA) guidelines that dictate approved roofing materials, colors, and styles. Always check with your HOA before planning a replacement.
Financing Your Jupiter Roof Replacement
A roof replacement is a significant investment, but several financing options are available to Jupiter homeowners:
- Home Equity Loan or Line of Credit (HELOC): Utilizes your home’s equity for a lower interest rate.
- PACE Programs (Property Assessed Clean Energy): Programs like the Florida PACE Funding Agency allow homeowners to finance energy-efficient and hurricane-resistant home improvements through property tax assessments.
- Contractor Financing: Many roofing companies offer financing plans through third-party lenders.
- Insurance Claims: If your roof damage is due to a covered peril, your homeowner’s insurance may cover a significant portion of the replacement cost.
FAQ: Roof Replacement Cost Jupiter
Q: How long does a roof replacement typically take in Jupiter?
A: The duration depends on the roof’s size, complexity, and material. Asphalt shingle roofs can often be completed in 2-5 days, while tile or metal roofs may take 1-3 weeks due to more specialized installation processes.
Q: Do I need a permit for a roof replacement in Jupiter?
A: Yes, all roof replacements and significant repairs in Jupiter require a permit from the Town of Jupiter Building Department. A reputable contractor will handle the permitting process for you.
Q: Will a new roof lower my home insurance premiums in Jupiter?
A: Often, yes. Installing a new roof that meets current Florida Building Codes and includes features like a secondary water barrier can qualify you for wind mitigation credits, potentially lowering your homeowner’s insurance premiums. Be sure to get a wind mitigation inspection after your new roof is installed.
Q: What is the best time of year for a roof replacement in Jupiter?
A: The dry season (typically November to May) is often preferred for roofing projects in Florida, as it minimizes delays due to rain. However, reputable contractors can successfully complete projects year-round.
BLU Roofing: Your Trusted Jupiter Roofing Partner
Understanding the roof replacement cost Jupiter homeowners face is just one part of making an informed decision. At BLU Roofing, we are committed to providing transparent pricing, superior craftsmanship, and roofing solutions that are specifically designed for the Jupiter climate and building codes. Whether your home is in Abacoa, Admiral’s Cove, or Jupiter Farms, our team ensures your new roof is not only beautiful but also exceptionally wind resistant and water-tight.
Contact Peter Menke at 561-379-5364 for a free, no-obligation estimate and discover why BLU Roofing is the trusted choice for Jupiter homeowners seeking lasting protection and peace of mind.
Written By: Peter Menke
Peter Menke is the owner of BLU Roofing and has been serving the South Florida roofing industry for over 6 years. He founded BLU Roofing to provide homeowners with transparent, accurate data grounded in the reality of Florida’s unique climate and building codes, information that is often missing from generic national roofing advice. License #CCC1337285
Palm Beach County, a jewel of South Florida, is no stranger to the raw power of hurricanes. Every year, homeowners brace for hurricane season, and the integrity of their roof is paramount to protecting their most valuable asset. Understanding the nuances of hurricane roof damage Palm Beach County is not just about repairs; it’s about preparedness, mitigation, and knowing how to navigate the aftermath. This comprehensive guide will equip you with the knowledge to safeguard your home, identify common damage, and understand the steps to recovery, ensuring your roof remains wind resistant and water-tight against Florida’s formidable storms.
Quick Summary
Navigating hurricane roof damage Palm Beach County requires proactive preparation, understanding common damage types, and a clear recovery plan. Key steps include pre-storm inspections, securing your property, immediate post-storm damage assessment, and working with a reputable local roofing contractor for repairs or replacement. Adhering to Florida Building Code standards and understanding insurance claims are crucial for ensuring your home remains wind resistant and water-tight.
Table of Contents
- Understanding Hurricane Threats in Palm Beach County
- Common Types of Hurricane Roof Damage
- Pre-Hurricane Season Roof Preparation
- Post-Hurricane Damage Assessment and Emergency Repairs
- Navigating Insurance Claims for Hurricane Roof Damage
- Choosing the Right Roofing Contractor for Hurricane Repairs
- Hurricane Preparedness & Recovery Checklist
- Wind Speed vs. Roof Material Performance
- FAQ: Hurricane Roof Damage Palm Beach County
- BLU Roofing: Your Partner in Hurricane Resilience
Understanding Hurricane Threats in Palm Beach County
Palm Beach County’s geographical location makes it particularly vulnerable to hurricanes and tropical storms. From the coastal communities of North Palm Beach and Singer Island to inland areas like Mangonia Park, every homeowner faces the risk of severe weather. The primary threats to roofs during a hurricane include:
- High Winds: Capable of lifting, tearing, and detaching roofing materials, leading to widespread damage.
- Heavy Rainfall: Often accompanied by wind-driven rain, which can penetrate even small openings, causing significant water damage to the interior of a home.
- Flying Debris: Trees, signs, and other unsecured objects can become projectiles, causing punctures and structural damage to roofs.
Understanding these threats is the first step in effective hurricane preparedness and mitigation for your Palm Beach County home.
Common Types of Hurricane Roof Damage
Hurricane-force winds and associated impacts can manifest in various forms of roof damage:
- Missing Shingles or Tiles: Often the most visible sign of wind damage, where individual shingles or tiles are lifted and blown away.
- Lifted or Curled Shingles: Even if not completely detached, strong winds can lift and curl shingles, compromising their seal and making them vulnerable to water intrusion.
- Granule Loss: For asphalt shingles, high winds can scour granules from the surface, reducing the shingle’s protective capabilities and lifespan.
- Punctures and Penetrations: Caused by flying debris, these can create direct entry points for water.
- Structural Damage: In severe cases, high winds can compromise the underlying roof deck or even the entire roof structure.
- Fascia and Soffit Damage: These components, while not part of the primary roof covering, are crucial for protecting the roof’s edge and attic space from wind and water.
Pre-Hurricane Season Roof Preparation
Proactive measures taken before hurricane season can significantly reduce the risk of severe hurricane roof damage Palm Beach County homes face:
- Professional Roof Inspection: Have a licensed roofing contractor inspect your roof to identify and address any existing vulnerabilities, such as loose shingles, cracked tiles, or compromised flashing.
- Trim Trees: Cut back any tree branches that overhang your roof or are close enough to cause damage during high winds.
- Clear Gutters and Downspouts: Ensure they are free of debris to allow for proper water drainage, preventing water from backing up and seeping under the roof.
- Secure Loose Items: Store or secure all outdoor furniture, grills, and other items that could become projectiles in high winds.
- Review Insurance Policy: Understand your coverage for hurricane damage, including deductibles and specific requirements for filing claims.
Post-Hurricane Damage Assessment and Emergency Repairs
After a hurricane has passed, a careful and safe assessment of your roof is critical:
- Safety First: Never climb onto a damaged roof yourself. Inspect from the ground with binoculars or hire a professional.
- Document Damage: Take clear photos and videos of all visible damage from multiple angles. This documentation is vital for insurance claims.
- Temporary Repairs: For active leaks, temporary measures like tarps can prevent further interior damage. Always prioritize safety and consult with a professional for proper installation.
- Contact a Professional: Engage a licensed and insured roofing contractor immediately for a thorough inspection and to plan necessary repairs.
Navigating Insurance Claims for Hurricane Roof Damage
Filing an insurance claim can be a complex process. Here are key steps for Palm Beach County homeowners:
- Notify Your Insurer: Report the damage as soon as safely possible.
- Provide Documentation: Submit all photos, videos, and any other evidence of damage.
- Get Professional Estimates: Obtain detailed repair estimates from reputable roofing contractors.
- Understand Your Policy: Be aware of your deductible, coverage limits, and any specific hurricane clauses.
- Be Patient: Insurance claims can take time, especially after widespread storm events.
Choosing the Right Roofing Contractor for Hurricane Repairs
Selecting a qualified contractor is paramount for effective and lasting repairs. Look for:
- Local Experience: A contractor familiar with Palm Beach County building codes and hurricane-specific requirements.
- Licensing and Insurance: Verify their Florida contractor’s license (CCC) and ensure they carry adequate liability and workers’ compensation insurance.
- Reputation: Check reviews, ask for references, and look for a track record of quality work.
- Transparency: A reputable contractor will provide clear, detailed estimates and explain the repair process thoroughly.
Hurricane Preparedness & Recovery Checklist
Use this checklist to ensure your Palm Beach County home is ready for hurricane season and to guide your actions post-storm:
- Before the Storm:
- Schedule a professional roof inspection.
- Trim overhanging tree branches.
- Clean gutters and downspouts.
- Secure or store outdoor items.
- Review your homeowner’s insurance policy.
- Create a disaster supply kit.
- After the Storm:
- Prioritize safety; avoid damaged areas.
- Document all roof damage with photos/videos.
- Make temporary repairs if safe to prevent further damage.
- Contact your insurance company.
- Engage a licensed local roofing contractor for a detailed assessment and repairs.
Wind Speed vs. Roof Material Performance
Different roofing materials offer varying levels of resistance to hurricane-force winds. Here’s a general overview of how common materials perform:
| Roof Material | Typical Wind Resistance (MPH) | Notes for Palm Beach County |
|---|---|---|
| Asphalt Shingles (Architectural) | 110-160 MPH | Good for many inland areas; impact-rated shingles offer enhanced protection. |
| Metal Roofing (Standing Seam) | 140-200+ MPH | Excellent for all areas, especially coastal; superior wind uplift resistance. |
| Concrete & Clay Tile | 130-150+ MPH | Very durable; proper fastening is critical for wind resistance in HVHZ zones. |
| Flat Roofing (TPO/PVC) | 120-150+ MPH | Ideal for low-slope roofs; robust seams and proper adhesion are key. |
FAQ: Hurricane Roof Damage Palm Beach County
Q: What is the most common type of hurricane roof damage in Palm Beach County?
A: The most common damage is typically related to wind, including missing or lifted shingles/tiles, and damage to fascia and soffits. Water intrusion from wind-driven rain is also a significant concern.
Q: Does my homeowner’s insurance cover hurricane roof damage?
A: Most homeowner’s insurance policies in Florida include coverage for hurricane damage, but they often have a separate hurricane deductible (typically 2% or 5% of your dwelling coverage). It’s crucial to review your specific policy details.
Q: How can I tell if my roof has hidden hurricane damage?
A: Some damage, like compromised underlayment or minor structural issues, may not be visible from the ground. A professional roof inspection by a licensed contractor is the best way to identify hidden damage.
Q: What should I do immediately after a hurricane if I suspect roof damage?
A: Prioritize safety, document all visible damage with photos, and make temporary repairs (like tarping) if it’s safe to do so to prevent further water intrusion. Then, contact your insurance company and a reputable local roofing contractor.
BLU Roofing: Your Partner in Hurricane Resilience
When it comes to protecting your home from hurricane roof damage Palm Beach County, BLU Roofing is your trusted partner. We specialize in comprehensive roof inspections, hurricane-resistant repairs, and full roof replacements designed to meet and exceed Florida’s stringent building codes. Our team understands the unique challenges faced by homeowners in areas from Jupiter to Boca Raton, and we are committed to delivering roofing solutions that provide lasting peace of mind.
Don’t wait for the next storm. Contact Peter Menke at 561-379-5364 for a free, no-obligation consultation on hurricane preparedness and roof resilience. Let us help ensure your home is truly wind resistant and water-tight, ready to face whatever nature brings.
Written By: Peter Menke
Peter Menke is the owner of BLU Roofing and has been serving the South Florida roofing industry for over 6 years. He founded BLU Roofing to provide homeowners with transparent, accurate data grounded in the reality of Florida’s unique climate and building codes, information that is often missing from generic national roofing advice. License #CCC1337285
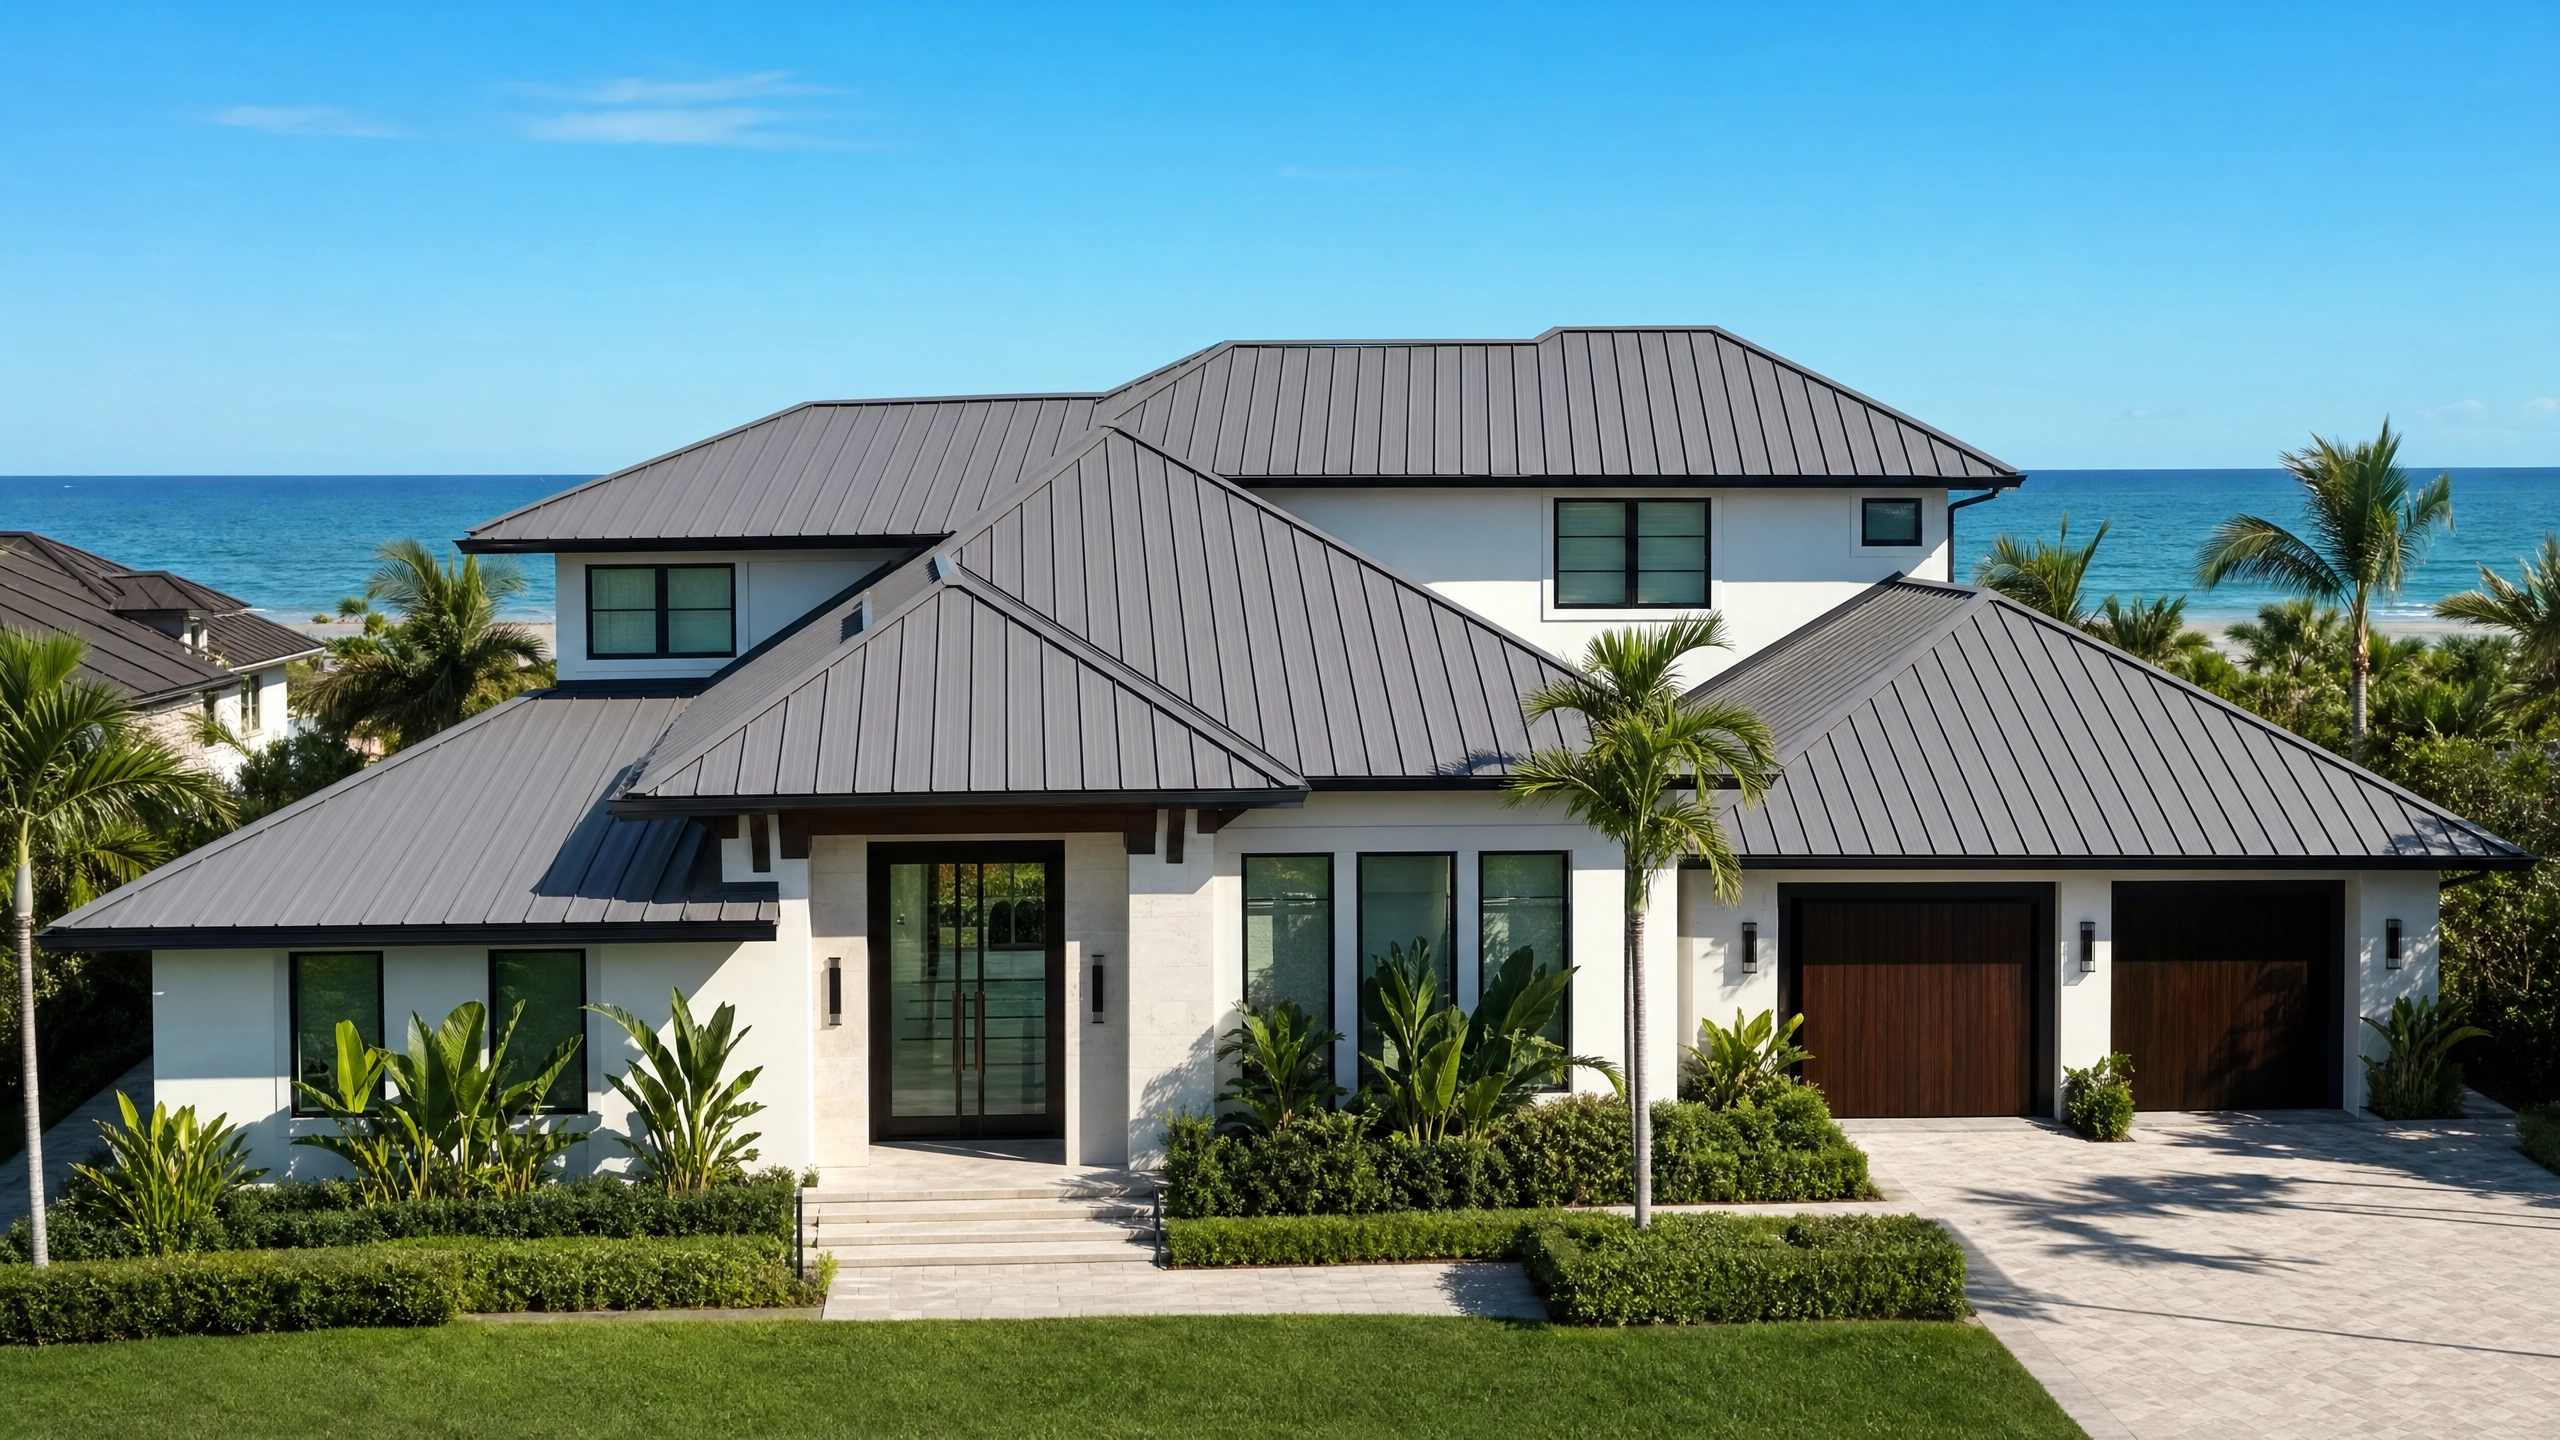
Singer Island, with its pristine beaches and luxurious waterfront properties, presents a unique set of challenges and considerations for homeowners seeking durable and aesthetically pleasing roofing solutions. The relentless salt spray, intense sun, and ever-present threat of hurricanes demand materials that are not only beautiful but also exceptionally resilient. For those investing in Singer Island roofing, the choice often comes down to two premium options: the sleek, modern appeal of aluminum standing seam, or the timeless elegance of concrete tile. This guide will delve into the specifics of each, helping you make an informed decision for a roof that is truly wind resistant and water-tight, perfectly suited for your coastal paradise.
Quick Summary
Choosing Singer Island roofing requires balancing aesthetics with extreme coastal durability. Aluminum standing seam offers modern appeal, superior wind resistance, and corrosion protection, ideal for contemporary homes. Concrete tile provides classic elegance, excellent longevity, and energy efficiency, suiting traditional and Mediterranean styles. Both options, when installed to Florida Building Code standards, ensure a wind resistant and water-tight home against the harsh marine environment.
Table of Contents
- Singer Island’s Coastal Environment and Roofing Demands
- Aluminum Standing Seam Roofing for Singer Island
- Concrete Tile Roofing for Singer Island
- Coastal Durability Scorecard: Aluminum vs. Concrete Tile
- Florida Building Code and HVHZ Compliance on Singer Island
- FAQ: Singer Island Coastal Roofing
- BLU Roofing: Your Singer Island Roofing Partner
Singer Island’s Coastal Environment and Roofing Demands
The allure of Singer Island lies in its direct proximity to the Atlantic Ocean, offering breathtaking views and a vibrant lifestyle. However, this coastal proximity also means homes are exposed to a unique set of environmental stressors that significantly impact roofing materials. The constant salt spray, high humidity, intense UV radiation, and the ever-present threat of tropical storms and hurricanes necessitate roofing systems designed for extreme durability. A roof on Singer Island must not only withstand these elements but also maintain its aesthetic appeal for decades. Homeowners in areas like Ocean Reef Park, John D. MacArthur Beach State Park, and the luxury condominiums along North Ocean Drive face these considerations daily.
Aluminum Standing Seam Roofing for Singer Island
Aluminum standing seam metal roofs have become a popular choice for modern and contemporary homes on Singer Island. Their sleek lines and minimalist aesthetic complement many architectural styles, but their benefits extend far beyond appearance:
- Exceptional Corrosion Resistance: Unlike steel, aluminum does not rust, making it highly resistant to the corrosive effects of salt spray in coastal environments. This is a critical factor for longevity on Singer Island.
- Superior Wind Resistance: Standing seam panels are mechanically fastened and interlocked, creating a robust system that can withstand extreme hurricane-force winds, often exceeding 150 mph.
- Durability and Lifespan: With proper installation, an aluminum standing seam roof can last 30-50 years, offering a long-term investment for your property.
- Energy Efficiency: Metal roofs reflect solar radiant heat, which can significantly reduce cooling costs in Florida’s hot climate.
Concrete Tile Roofing for Singer Island
Concrete tile roofs offer a classic, Mediterranean-inspired aesthetic that remains a favorite for many traditional and Spanish-style homes on Singer Island. Beyond their timeless beauty, concrete tiles provide substantial protection:
- Outstanding Durability: Concrete tiles are incredibly robust, resistant to hail, fire, and rot. They are designed to endure the harsh Florida climate.
- Excellent Wind Resistance: When installed correctly with appropriate fasteners and mortar, concrete tiles can achieve very high wind uplift ratings, crucial for hurricane zones.
- Energy Efficiency: The thermal mass and natural ventilation provided by tile roofs help to insulate homes, keeping them cooler and reducing energy consumption.
- Long Lifespan: Similar to metal, concrete tile roofs can last 22-35 years.
Coastal Durability Scorecard: Aluminum vs. Concrete Tile
To help Singer Island homeowners compare these two premium roofing options, here’s a scorecard based on their performance in a harsh coastal environment:
| Feature | Aluminum Standing Seam | Concrete Tile |
|---|---|---|
| Salt Spray Resistance | Excellent (inherently corrosion-resistant) | Very Good (dense material, but surface can show efflorescence over time) |
| Wind Resistance | Superior (mechanically interlocked panels) | Excellent (heavy, individually fastened) |
| Aesthetic Fit (Singer Island) | Modern, Contemporary, Industrial | Traditional, Mediterranean, Spanish, Classic Florida |
| Lifespan | 30+ years | 22-35 years |
| Maintenance | Low (occasional cleaning) | Moderate (cleaning for algae/mildew, occasional tile replacement) |
| Energy Efficiency | High (reflects heat) | Medium (thermal mass, better with proper ventilation) |
Florida Building Code and HVHZ Compliance on Singer Island
Given Singer Island’s location within Palm Beach County, all roofing projects are subject to the rigorous Florida Building Code, with many areas falling under the High-Velocity Hurricane Zone (HVHZ) provisions. This means that both aluminum standing seam and concrete tile installations must adhere to specific, enhanced requirements for:
- Wind Uplift Resistance: Fastening patterns, clip types, and adhesive applications are meticulously specified to prevent roof failure during hurricanes.
- Secondary Water Barrier (SWR): A critical component, the SWR provides a waterproof layer beneath the primary roofing material, ensuring your home remains water-tight even if tiles are dislodged or metal panels are compromised.
- Permitting and Inspections: All significant roofing work requires permits from the Town of Palm Beach Shores or City of Riviera Beach Building Departments, followed by strict inspections to ensure compliance with all code requirements.
Choosing a local, licensed, and insured roofing contractor with extensive experience in HVHZ installations is not just recommended, it’s essential for ensuring your Singer Island roofing project provides maximum protection and peace of mind.
FAQ: Singer Island Coastal Roofing
Q: How does salt air affect my roof on Singer Island?
A: Salt air can accelerate corrosion in some metal roofing materials and lead to efflorescence (a powdery white deposit) on concrete tiles. Aluminum standing seam is highly resistant to salt corrosion, while concrete tiles are generally unaffected structurally, though they may require more frequent cleaning to maintain appearance.
Q: Is one material better for hurricane protection on Singer Island?
A: Both aluminum standing seam and concrete tile, when installed to HVHZ standards, offer excellent hurricane protection. Standing seam metal gets the edge. The key is proper installation by a certified contractor, ensuring all components meet or exceed Florida Building Code wind uplift requirements.
Q: What is the typical cost difference between aluminum standing seam and concrete tile on Singer Island?
A: Generally, both are premium roofing options. Aluminum standing seam can sometimes be slightly more expensive upfront due to material costs and specialized installation, but both offer comparable long-term value due to their extended lifespans and durability. Pricing varies significantly based on roof complexity, material specifics, and current market conditions. Based on our 2026 project data in Palm Beach County, the average cost for a premium metal roof can range from $14 to $20 per square foot, while concrete tile can range from $11 to $15 per square foot, depending on the specific tile profile and manufacturer and roof complexity.
Q: Do I need special permits for roofing work on Singer Island?
A: Yes, all roof replacements and significant repairs on Singer Island require permits from the relevant municipal building department (e.g., Town of Palm Beach Shores or City of Riviera Beach). Your chosen roofing contractor should handle the permitting process to ensure full compliance.
BLU Roofing: Your Singer Island Roofing Partner
For homeowners seeking the ultimate in Singer Island roofing, BLU Roofing offers unparalleled expertise in both aluminum standing seam and concrete tile installations. We understand the unique demands of the coastal environment and are committed to delivering roofing systems that are not only beautiful but also exceptionally wind resistant and water-tight. Our team ensures every project adheres to the strictest Florida Building Code and HVHZ standards, providing lasting protection and peace of mind for your luxury property.
Contact Peter Menke at 561-379-5364 for a personalized consultation and discover how BLU Roofing can enhance the beauty and resilience of your Singer Island home.
Written By: Peter Menke
Peter Menke is the owner of BLU Roofing and has been serving the South Florida roofing industry for over 6 years. He founded BLU Roofing to provide homeowners with transparent, accurate data grounded in the reality of Florida’s unique climate and building codes, information that is often missing from generic national roofing advice. License #CCC1337285
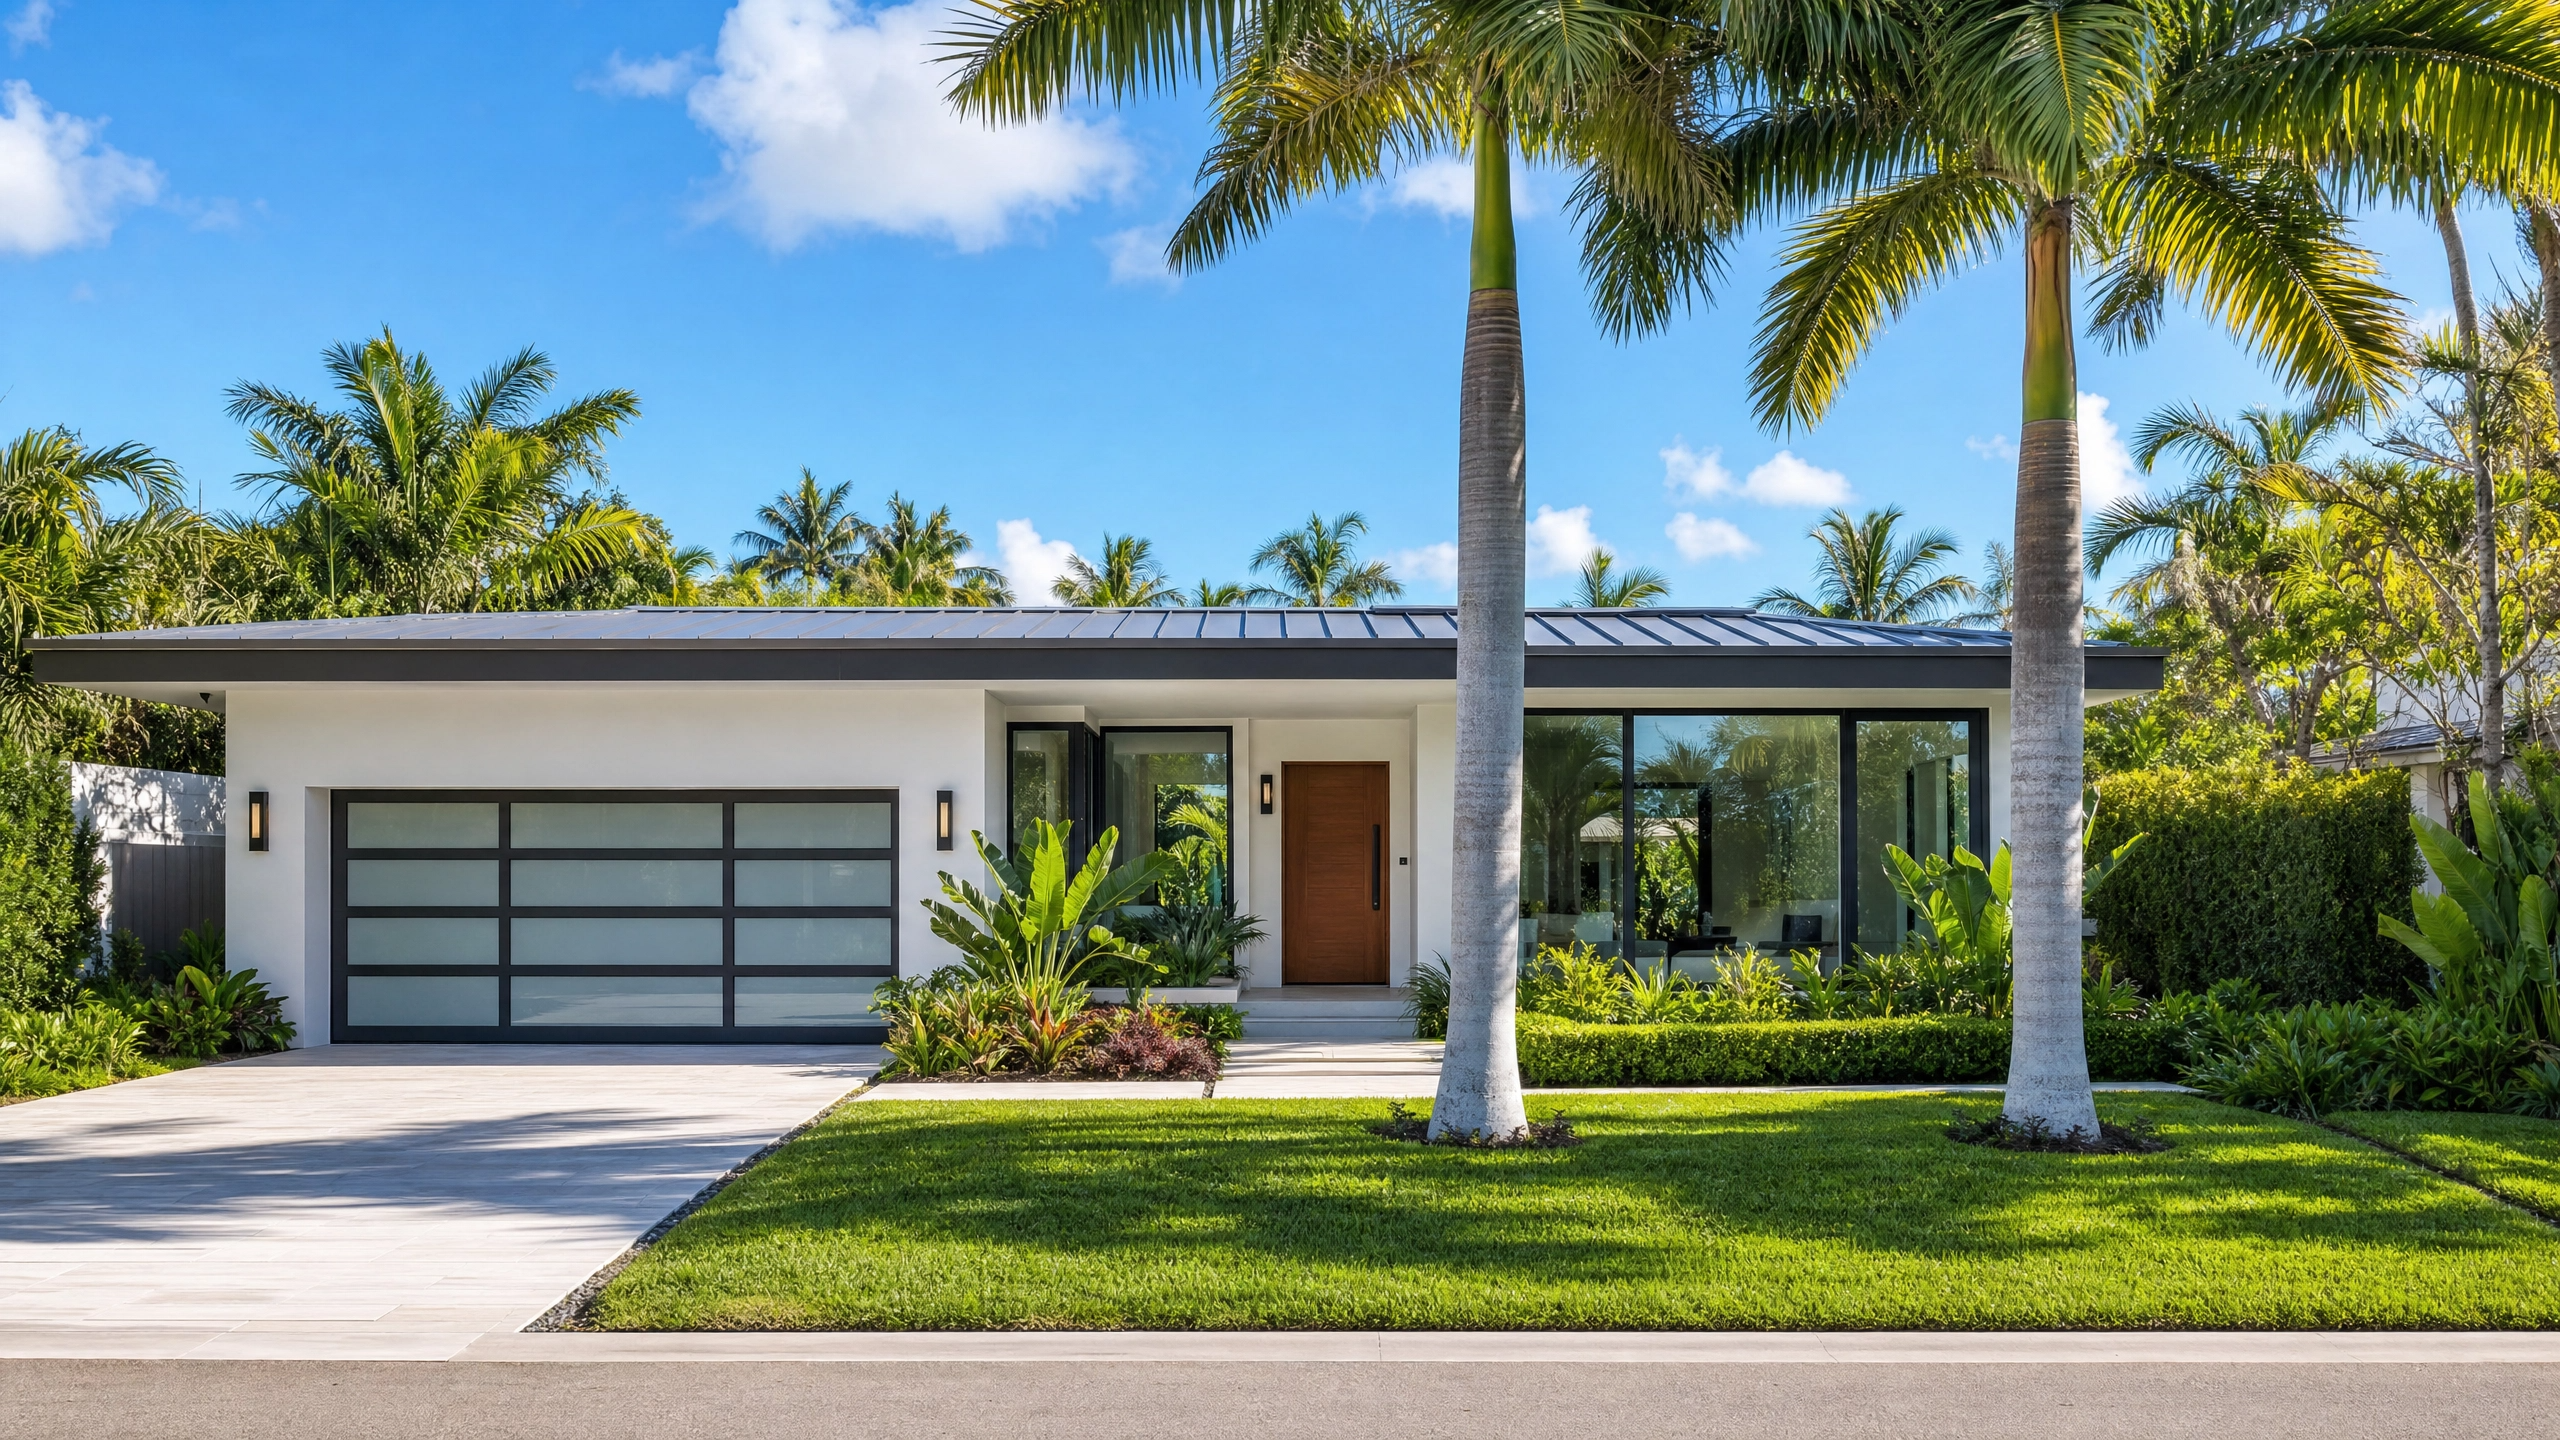
North Palm Beach boasts a rich architectural heritage, particularly its distinctive mid-century modern homes that define many of its charming neighborhoods. For homeowners in the 33408 zip code, preserving this unique aesthetic while upgrading to a modern, hurricane-resistant roof is a key consideration. This guide explores how different roofing materials can complement North Palm Beach’s architectural styles, ensuring your home remains both beautiful and compliant with today’s stringent Florida Building Code standards. We’ll help you understand how to achieve a roof that is truly wind resistant and water-tight, blending seamlessly with your home’s character.
Quick Summary
North Palm Beach roofing requires a balance between architectural preservation and modern code compliance. Understanding how materials like metal, tile, and architectural shingles complement mid-century modern and contemporary designs is crucial. Choosing a licensed local contractor ensures your roof is installed to Florida Building Code standards, enhancing durability and maintaining aesthetic integrity for a wind resistant and water-tight home.
Table of Contents
- North Palm Beach Architectural Styles and Roofing
- Modern Roofing Materials for North Palm Beach Homes
- Florida Building Code and North Palm Beach Roofing
- FAQ: North Palm Beach Roofing Architecture
- BLU Roofing: Preserving North Palm Beach Aesthetics
North Palm Beach Architectural Styles and Roofing
The Village of North Palm Beach, particularly communities developed in the mid-20th century, is renowned for its distinctive architectural styles. These often include:
- Mid-Century Modern: Characterized by clean lines, open floor plans, large windows, and often low-slope or flat roofs. These homes prioritize functionality and a connection to nature.
- Ranch-Style Homes: Single-story, often with a long, low profile, and a simple roofline. These are prevalent in many established neighborhoods.
- Contemporary Coastal: Newer constructions or renovations that blend modern design with elements suited for the Florida climate, often featuring varied roof pitches and durable materials.
When selecting a roof for these homes, it’s essential to choose materials that not only offer superior protection but also enhance or preserve the home’s original architectural intent.
Modern Roofing Materials for North Palm Beach Homes
Today’s roofing market offers a variety of materials that can meet both aesthetic and performance demands for North Palm Beach roofing:
| Material | Architectural Fit (NPB) | Key Benefits for Florida |
|---|---|---|
| Aluminum Standing Seam Metal | Excellent for Mid-Century Modern & Contemporary; sleek, clean lines. | Exceptional wind resistance, corrosion-resistant (crucial for coastal), energy-efficient, long lifespan. |
| Concrete & Clay Tile | Ideal for Mediterranean, Spanish, or some Ranch styles; classic Florida look. | High durability, excellent wind resistance, energy-efficient, long lifespan. |
| Architectural Shingles | Versatile for Ranch, Traditional, and some Mid-Century styles; cost-effective. | Good wind resistance (especially impact-rated), wide color/style selection, affordable. |
| Flat Roofing (TPO/PVC) | Essential for low-slope sections of Mid-Century Modern homes and additions. | Superior waterproofing, energy-efficient (white membranes), durable for low-slope applications. |
Florida Building Code and North Palm Beach Roofing
All roofing projects in North Palm Beach must adhere to the stringent Florida Building Code, particularly the High-Velocity Hurricane Zone (HVHZ) provisions for certain areas, and always the wind-load requirements for Palm Beach County. This means:
- Wind Resistance: Materials and installation methods must be certified to withstand hurricane-force winds.
- Secondary Water Barrier (SWR): A crucial underlayment that provides an extra layer of protection against water intrusion, even if the primary roof covering is damaged.
- Permitting: All roof replacements and significant repairs require permits from the Village of North Palm Beach Building Department to ensure compliance.
Choosing a licensed and experienced local contractor is paramount to ensure your new roof meets all code requirements, providing true wind resistant and water-tight protection.
FAQ: North Palm Beach Roofing Architecture
Q: Can I change my roof style on a mid-century modern home in North Palm Beach?
A: While you can often update materials, significant changes to the roofline or pitch may require architectural review and specific permits from the Village of North Palm Beach to ensure compliance with local aesthetic guidelines and building codes. It’s best to consult with a local roofing expert.
Q: Are metal roofs suitable for North Palm Beach’s coastal environment?
A: Yes, aluminum standing seam metal roofs are highly recommended for coastal areas due to their exceptional corrosion resistance and superior wind performance. They offer a sleek, modern look that complements many North Palm Beach homes.
Q: How does the Florida Building Code impact my roofing choices in North Palm Beach?
A: The Florida Building Code dictates the minimum standards for materials and installation, focusing heavily on wind resistance and waterproofing. A reputable local roofer will ensure all aspects of your project, from fasteners to underlayment, meet or exceed these codes, providing maximum protection for your home.
Q: Where can I find information on North Palm Beach building codes?
A: You can find detailed information on building codes and permitting requirements on the official website for the Village of North Palm Beach Building Department. Your roofing contractor should also be well-versed in these local regulations.
BLU Roofing: Preserving North Palm Beach Aesthetics
For expert North Palm Beach roofing that respects your home’s architectural integrity while providing unparalleled protection, trust BLU Roofing. We understand the unique charm of the 33408 zip code, from the classic mid-century modern designs to contemporary waterfront estates. Our team specializes in guiding homeowners through material selection that enhances curb appeal and meets the highest Florida Building Code standards.
We’re committed to delivering a roof that is not only beautiful but also truly wind resistant and water-tight, preserving your home’s value and character for decades. Contact Peter Menke at 561-379-5364 for a free, no-obligation consultation. Let us help you blend timeless aesthetics with modern durability for your North Palm Beach home.
Written By: Peter Menke
Peter Menke is the owner of BLU Roofing and has been serving the South Florida roofing industry for over 6 years. He founded BLU Roofing to provide homeowners with transparent, accurate data grounded in the reality of Florida’s unique climate and building codes, information that is often missing from generic national roofing advice. License #CCC1337285
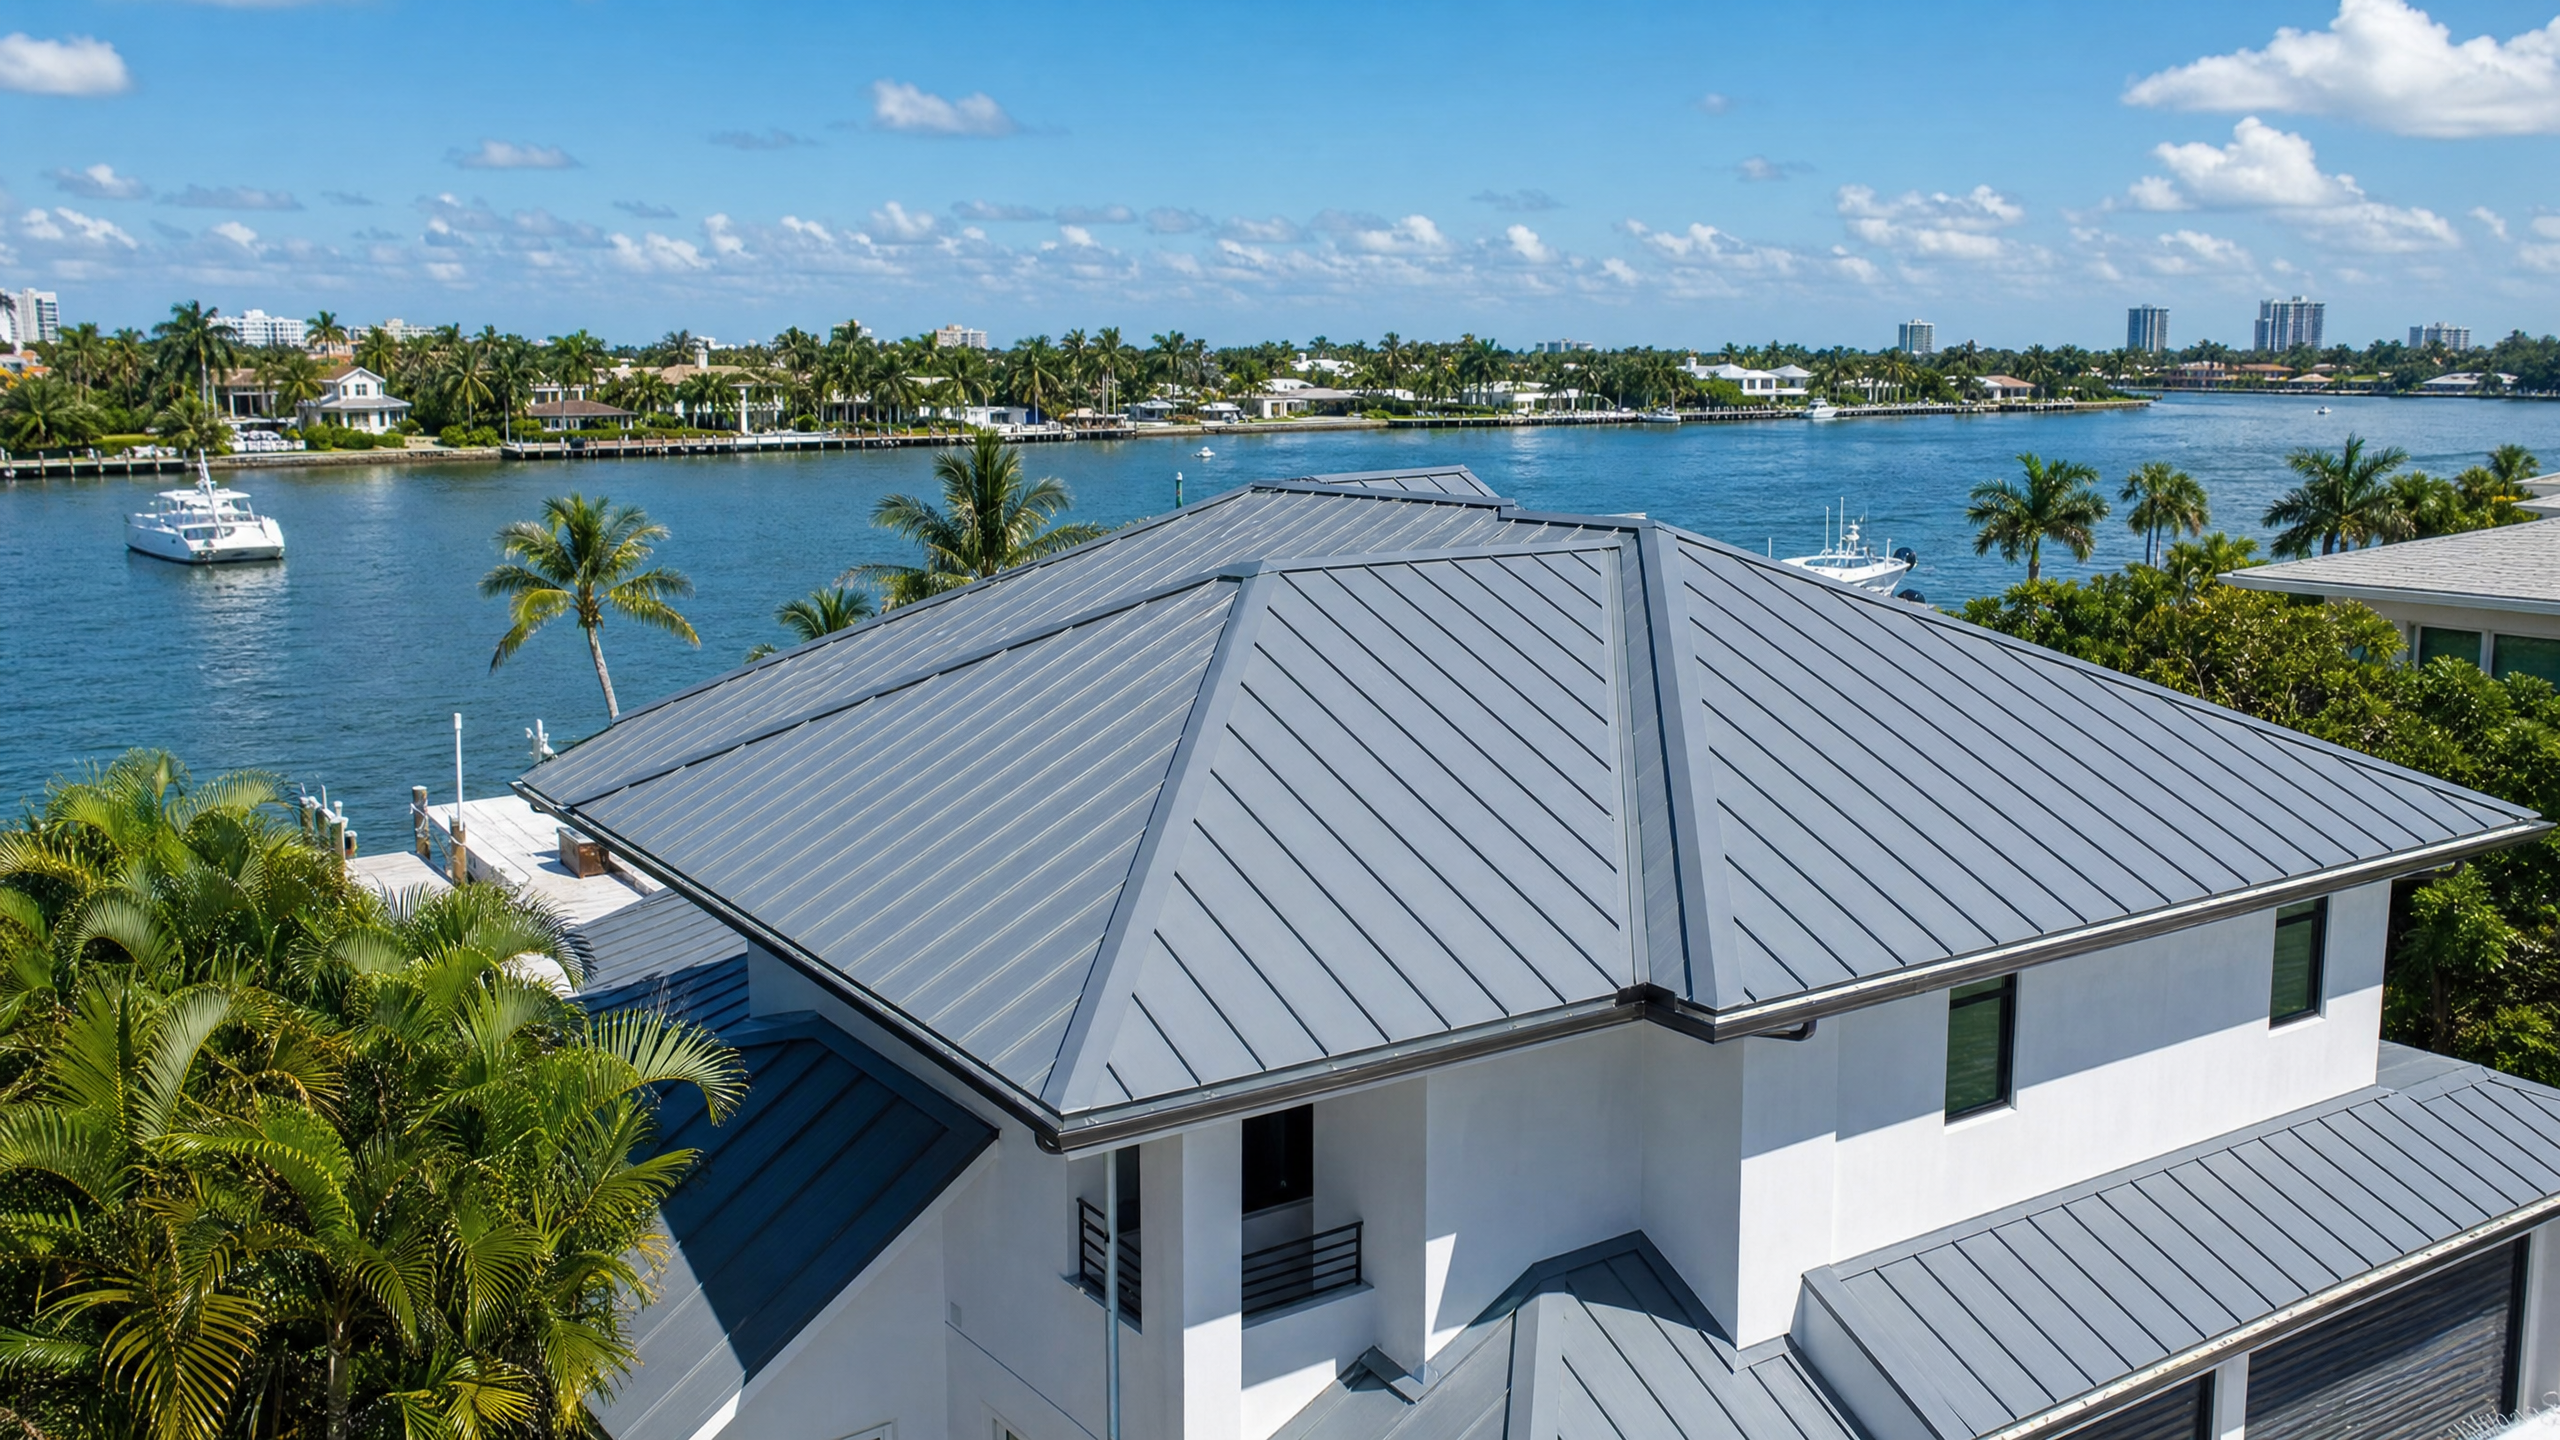
North Palm Beach is synonymous with waterfront living. From the serene canals winding through communities like Lost Tree Village to the expansive views along the Intracoastal Waterway, homes here offer an unparalleled lifestyle. However, this proximity to saltwater brings unique challenges for your roof. Constant exposure to salt air can accelerate corrosion, degrade materials, and significantly shorten your roof’s lifespan if not properly maintained. This guide will explore essential roof maintenance North Palm Beach homeowners need to protect their waterfront investments, ensuring your home remains wind resistant and water-tight.
Quick Summary
Effective roof maintenance North Palm Beach waterfront homes require specialized attention due to salt-air exposure. Regular inspections, cleaning, and proactive repairs are crucial to prevent corrosion of metal components and degradation of roofing materials. Implementing a consistent maintenance schedule helps extend your roof’s lifespan, preserves its aesthetic, and ensures your property remains wind resistant and water-tight against Florida’s harsh coastal environment.
Table of Contents
- The Impact of Salt Air on North Palm Beach Roofs
- Coastal Roof Maintenance Schedule for North Palm Beach
- Common Waterfront Roofing Issues and Solutions
- FAQ: Roof Maintenance North Palm Beach
- BLU Roofing: Your Waterfront Maintenance Partner
The Impact of Salt Air on North Palm Beach Roofs
The beauty of living near the ocean in North Palm Beach comes with a trade-off: increased wear and tear on exterior home components, especially your roof. Salt particles carried by the wind and sea spray can settle on roofing materials, leading to several issues:
- Accelerated Corrosion: Metal flashing, fasteners, vents, and even some types of metal roofing can corrode much faster in a saltwater environment. This weakens structural integrity and can lead to leaks.
- Material Degradation: While many roofing materials are designed for durability, prolonged salt exposure can break down their protective layers, making them more susceptible to UV damage and moisture intrusion.
- Algae and Mold Growth: The humid coastal climate, combined with salt, creates an ideal breeding ground for algae, mold, and mildew, which can stain roofs and, in severe cases, compromise material integrity.
- Clogged Gutters: Salt and debris can accumulate in gutters and downspouts, leading to blockages that cause water to back up and potentially damage fascia, soffits, and the roof edge.
Coastal Roof Maintenance Schedule for North Palm Beach
A proactive maintenance plan is your best defense against salt-air damage. Here’s a recommended schedule for North Palm Beach waterfront homeowners:
| Maintenance Task | Frequency | Notes for Waterfront Homes |
|---|---|---|
| Visual Inspection | Quarterly & After Every Storm | Look for loose shingles/tiles, corroded flashing, clogged gutters, and signs of algae/mold. Pay close attention to metal components. |
| Gutter Cleaning | Quarterly | Remove leaves, debris, and salt buildup to ensure proper drainage and prevent water overflow. |
| Roof Cleaning (Algae/Mold) | Annually or Bi-Annually | Use a low-pressure, eco-friendly solution to remove algae and mold. Avoid high-pressure washing, which can damage materials. |
| Flashing & Sealant Check | Annually | Inspect all metal flashing around chimneys, vents, and skylights for signs of corrosion or compromised sealant. Re-seal as needed. |
| Professional Inspection | Every 2-3 Years | A licensed roofing contractor can identify subtle issues, assess material condition, and recommend proactive repairs. |
Common Waterfront Roofing Issues and Solutions
- Corroded Fasteners: Salt air can quickly rust standard steel fasteners. Solution: Use stainless steel or coated fasteners during repairs or replacements.
- Degraded Metal Flashing: Galvanized steel flashing can corrode. Solution: Replace with copper, aluminum, or properly coated galvanized steel.
- Tile Roof Efflorescence: Salt can contribute to white, powdery deposits on concrete tiles. Solution: Regular cleaning and application of protective sealants.
- Shingle Granule Loss: UV rays and salt can accelerate granule loss. Solution: Regular inspections and timely repair of damaged areas.
FAQ: Roof Maintenance North Palm Beach
Q: How often should I clean my roof in North Palm Beach?
A: For waterfront homes, every 2-4 years a professional cleaning is recommended to remove algae, mold, and salt buildup.
Q: Can I pressure wash my roof to remove salt and algae?
A: High-pressure washing is generally not recommended as it can damage roofing materials, especially shingles and tiles. A low-pressure wash with an appropriate cleaning solution is safer and more effective.
Q: What type of roof is best for a North Palm Beach waterfront home?
A: Materials like aluminum standing seam metal, concrete tile, and certain types of asphalt shingles with enhanced wind resistance are excellent choices. The key is proper installation with corrosion-resistant fasteners and flashing, adhering to Florida Building Code standards.
Q: Does regular maintenance extend my roof’s warranty?
A: While maintenance doesn’t directly extend a manufacturer’s warranty, it often helps you comply with warranty terms that require proper care. Neglecting maintenance can void your warranty, so it’s always a good idea to keep records of your maintenance activities.
BLU Roofing: Your Waterfront Maintenance Partner
For specialized roof maintenance North Palm Beach waterfront homes demand, trust the local experts at BLU Roofing. We understand the unique challenges posed by the Intracoastal and canal environments in the 33408 zip code. Our team provides comprehensive inspections, proactive maintenance, and expert repairs designed to protect your home from the corrosive effects of salt air and the harsh Florida climate.
We’re committed to ensuring your roof remains wind resistant and water-tight, preserving your property’s value and your peace of mind. Contact Peter Menke at 561-379-5364 for a free, no-obligation assessment of your waterfront roof. Let us help you keep your North Palm Beach home protected for years to come.
Written By: Peter Menke
Peter Menke is the owner of BLU Roofing and has been serving the South Florida roofing industry for over 6 years. He founded BLU Roofing to provide homeowners with transparent, accurate data grounded in the reality of Florida’s unique climate and building codes, information that is often missing from generic national roofing advice. License #CCC1337285